Gas Cooktop: Natural Gas to Liquid Propane (LP) Conversion The complete guide to
If your home has a natural gas cooktop—it is set for liquid propane (LP) gas and you want to use it, then some important changes must be made. Although the process is simple in most cases, a mistake can lead to danger. So before doing this work yourself, you should know a few things well.
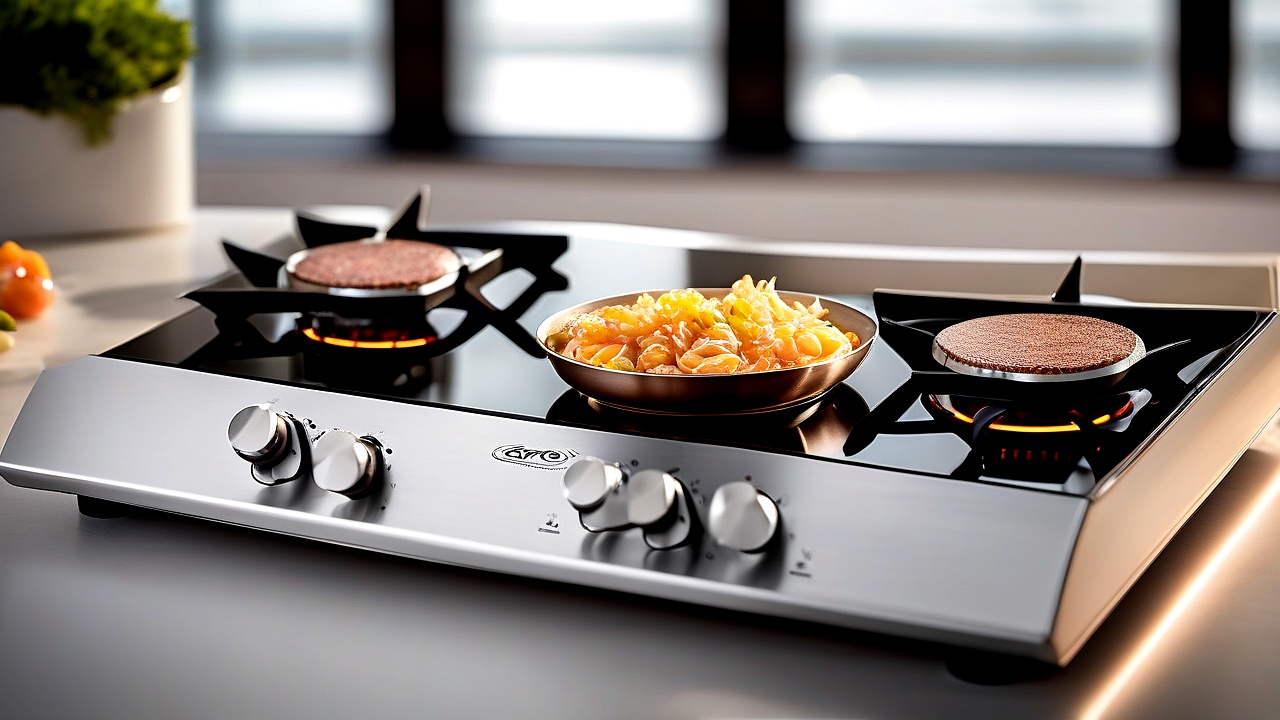
In this article, we will show you step by step how to convert your gas cooktop from natural gas to LP gas. This includes some equipment that will be needed, what precautions to take, and when to seek professional help. Let’s get started!
Why does this have to be changed from natural gas to LP gas?
There are two main differences between natural gas and liquid propane (LP) gas: their pressure and energy content. Natural gas has higher pressure and acts as a more powerful fuel. So when you try to run cooktops designed for natural gas on LP gas, then some important changes need to be made for it to work properly.
Besides, many times this conversion is needed due to moving to a new home or switching to a different gas supply system. But for whatever reason, if the cooktop is not working properly, problems such as excessive heat generation or poor performance may occur.
LP Gas Conversion: Equipment and tools required for this
This conversion requires a few important tools and equipment to carry out the process. They are mentioned below:
- LP Gas Conversion Kit: Every gas cooktop requires a different conversion kit. This kit usually contains:
- LP gas orifice (which should be installed instead of the natural gas orifice)
- Pressure regulator (which controls the higher pressure of LP gas)
- Instruction manual (which provides a step-by-step guide)
- Adjustable wrench: to install the orifice and regulator
- Screwdriver: to open various screws
- Pipe wrench: to open different parts of gas lines
- Soapy water solution: to check for gas leakage
- Gas leak detector: for extra caution (if available)
- Gloves: to protect hands
Important: Always refer to your cooktop’s manual for LP gas conversion instructions. Many brands, such as GE Appliances, Whirlpool, and Frigidaire, offer their own conversion kits.
Step-by-step LP Gas Conversion process
Now we will show you step by step how to convert your cooktop from natural gas to LP gas. Follow each step carefully.
Step 1: Stopping electricity and gas supply
First, turn off the power supply to your gas cooktop. Then close the gas line valve. This is very important as it will help prevent gas leakage.
Next, remove the power cords from the back of the cooktop. If any wires are loose, connect them properly.
Step 2: Changing the burner orifice
Each burner has an orifice that must be changed for LP gas to allow the right amount of gas flow. Follow the steps below:
- Remove the burner from the top of the cooktop. They are usually held in place by screws.
- Below the burner, there is an orifice. Use an adjustable wrench to remove it.
- Remove the old orifice and install the new LP gas orifice. The size of the orifice is usually between 0.025″ and 0.035″.
- After changing, reattach all the burner orifices properly.
Important: Be careful not to leave any screws or parts loose when changing the orifice. Otherwise, gas leakage may occur.
Step 3: Changing the pressure regulator
LP gas has higher pressure than natural gas, so the cooktop pressure regulator may need to be changed. Follow the steps below:
- Remove the old regulator from the back of the cooktop.
- Install the new LP gas regulator.
- Connect the accompanying tube properly.
- Tighten everything well so that there is no leakage.
Important: Many cooktops do not require a regulator change. So check the manual first. If you need to change it, follow the manufacturer’s instructions.
Step 4: Checking the gas line
After making all the changes, the gas line should be checked thoroughly. Follow the steps below:
- Create a soapy water solution.
- Apply this solution to gas lines and various joints.
- If bubbles appear anywhere, there is a gas leak.
- If leakage is found, retighten or replace as necessary.
Important: Gas leakage can be very dangerous. If any leakage is found, shut off the gas supply immediately and seek professional help.
Step 5: Testing the cooktop
After making all the changes, the cooktop should be switched on and tested. Note the following points:
- Are all the burners burning properly?
- Is the fuel spreading evenly?
- Are there any unusual sounds or smells?
- Is the burner’s temperature being controlled?
If any problems occur, recheck the previous steps or seek professional help.
Common problems and solutions
Some common problems may occur after completing the LP gas conversion. Below are the issues and their solutions:
| The problem | Cause | Solution |
|---|---|---|
| Burner not burning | Orifice not changed correctly | Check the orifice again and install the correct size orifice |
| Excess heat is generated | Pressure regulator not working properly | Replace the regulator or have a professional check it |
| Smell of gas | Gas leakage | Tighten all joints properly or seek professional help |
| Burner’s temperature cannot be controlled | Thermostat or gas flow problems | Test the thermostat or have a professional check it |
When to seek professional help?
Although this conversion process can be done manually in most cases, there are situations where professional help should be sought. Those scenarios are mentioned below:
- If your cooktop is old and the manufacturer does not provide a conversion kit.
- If gas leakage is found and cannot be fixed by yourself.
- If there is a problem with the inside of the cooktop.
- If you are not experienced in this type of work.
Professional gas technicians are experienced in this type of work and can complete the job quickly and safely. So take their help if necessary to avoid the risk of danger.
Precautions and safety tips
A few important precautions should be taken while performing an LP gas conversion. They are given below:
- Shut off the gas supply: Before starting work, shut off the gas supply and ensure that there is no gas leakage.
- Tighten well: Tighten all joints and screws properly so that there is no leakage.
- Maintain cleanliness: Clean all equipment and work area after finishing the work.
- Follow the instructions: Always follow the manufacturer’s instructions. Do not change anything yourself.
- Get a professional check: Have the gas line checked by a professional at least once after the job is done.
FAQ: LP Gas Conversion Related Common Questions
Question 1: How long does it take to convert from natural gas to LP gas?
This conversion process usually takes 30 minutes to 1 hour. The time difference depends on the cooktop model, your experience, and the availability of equipment. For example, older model cooktops may take a little longer to change the orifice. If a manufactured new model conversion kit is available, the work is completed quickly. So collect the necessary equipment and guidelines in advance.
Question 2: Where can I find an LP gas conversion kit?
An LP gas conversion kit can be found in various places. Below are some reliable sources:
- Online marketplace: Websites like Amazon, eBay, Walmart, Home Depot, and Lowe’s offer conversion kits. Different brands (such as Bosch, GE Appliances, and Whirlpool) offer kits for their models.
- Local gas supply company: Many local gas companies sell conversion kits. They can also provide necessary guidance and support.
- Home appliance store: Major electronics and home appliance stores (such as Best Buy or AJC) often have conversion kits available. If not in stock, you can order online.
- Official website of the brand: You can also buy a genuine conversion kit from the official website of your cooktop brand. This is the best option in terms of security and standards.
Be sure to match your cooktop’s model number before purchasing so that you can buy the right kit.
Question 3: How will the performance of the cooktop be after the conversion?
If the conversion process is done correctly, the performance of the cooktop will remain the same or may improve in some cases. This is because LP gas has a higher energy density and can generate heat quickly. However, a few things should be noted:
- Heat control: If the orifice or regulator is not changed properly, excess heat may be generated, which increases the risk of food burning.
- Fuel consumption: The price of LP gas is usually higher than natural gas, so the cost may increase slightly. However, this difference can be minimized if used efficiently.
- Sound and vibration: In some cases, the cooktop may make a slight noise or vibration during use. This is usually not harmful but can feel uncomfortable.
So monitor the performance of the cooktop for the first few uses after conversion. If any abnormality occurs, take measures to solve the problem quickly.
Question 4: Is the warranty affected after the conversion?
Yes, in most cases, the manufacturer’s warranty is affected if you perform the conversion yourself. This is because:
- Security risk: There is a possibility of making mistakes during a DIY conversion, which can create dangerous situations like gas leaks or fire.
- Violation of instructions: Most manufacturers state in their instructions that gas appliances cannot be altered. So if you perform the conversion yourself, the warranty may be canceled.
- Manufacturer’s responsibility: Under warranty, if any problem arises, the manufacturer may ask for proof that the change was not authorized by them.
So to save the warranty:
- Have the conversion done by a professional technician.
- Use an approved conversion kit and follow the guidelines.
- Contact the manufacturer before performing the conversion. Many brands provide proprietary conversion services.
Question 5: Is it necessary to adjust the gas pressure after the conversion?
Yes, it is very important to control the gas pressure properly after conversion. LP gas has higher pressure than natural gas, so if the pressure is too high, it can cause:
- The cooktop burner may overheat.
- Fuel consumption may increase.
- The risk of food burning increases.
So after conversion, verify that the pressure regulator is set correctly. Most conversion kits include a new regulator suitable for LP gas. If in doubt, seek professional help.
Question 6: Do you need to change the burner after the conversion?
No, in most cases, it is not necessary to change the burner. This is because:
- If you change the orifice to LP gas, it can be adapted for this purpose.
- The orifice is a small part that controls gas flow. Changing this leaves the burner configuration unchanged.
However, on some older model cooktops, the orifice may not be changeable. In that case, a new burner may need to be fitted. So before conversion, know the details about your cooktop model.
Question 7: Does the risk of gas leakage increase after the conversion?
If the conversion process is done correctly, the risk of gas leakage should not increase. However, some common mistakes can increase this risk:
- Uneven joints: Gas leaks can occur if joints are not properly tightened while connecting gas lines.
- Damaged pipes: Cracks may occur if old or damaged gas pipes are used.
- Wrong regulator: If an LP gas-suitable regulator is not used, there is a possibility of leakage due to excess pressure.
So after conversion, be sure to check the gas line. Use soapy water to check for leaks—if bubbles form, then gas is leaking. Fix it quickly or seek professional help.
Question 8: What should I do if there is a problem when trying to turn on the cooktop after the conversion?
If there is a problem when trying to turn on the cooktop after conversion, follow the steps below:
- Check the electricity and gas supply: First, make sure that the electricity and gas supply are working properly.
- Check gas lines: Check if the gas line is blocked or damaged in any way.
- Check the burner orifice: Verify that the orifice changes were made correctly.
- Check the pressure regulator: Ensure that it is set correctly.
- Check the error code: If an error code is displayed on the cooktop, solve it according to the manufacturer’s instructions.
- Get professional help: If the problem persists after checking everything above, seek the help of a professional technician immediately.
Conclusion
Converting a gas cooktop from natural gas to LP gas is an important process that allows you to change the fuel according to your needs. However, there are several things to keep in mind while doing this, such as using the right equipment, following the manufacturer’s guidelines, and complying with safety measures. If you try to perform the conversion yourself, in addition to voiding the warranty, safety risks also increase. So if possible, seek the help of a professional technician or have the conversion done at the manufacturer’s authorized service center.
After conversion, check the performance of the cooktop and take quick remedial action if any abnormality occurs. Besides, regular maintenance will help the cooktop work well for a long time. Finally, remember that caution must be exercised before making any modifications to gas appliances—safety comes first.
We hope this guide provides you with the necessary information about LP gas conversion. If you have any other questions, feel free to tell us in the comment box or contact ApplianceSky’s experts. Stay healthy and cook safely! 🔥🍳

About the Author
Hi I am an Engineer I have passed my diploma in Engineering in 2007. Academically I have studied about home appliances and various motors and machineries. In 2012 I have started my blogging and learned a lot of things about home appliances especially washing appliances, washing and cleaning related products, and eequipments. In 2019 I have started my blog https://appliancesky.com to provide my research and experience with my fan and followers.