How to Safely Transport and Move a Range Hood During Relocation
Why Proper Range Hood Transport Matters
If a range hood is not moved safely during relocation, it may damage the internal fan blade, grease filter, or electrical wiring. Many people think that only large range hoods are the problem, but small to medium sized hoods (eg 24-inch to 36-inch) can have their mounting bracket or duct connector come loose if not moved properly. As a result, vibration noise or poor suction may appear when installing in a new place after relocation.
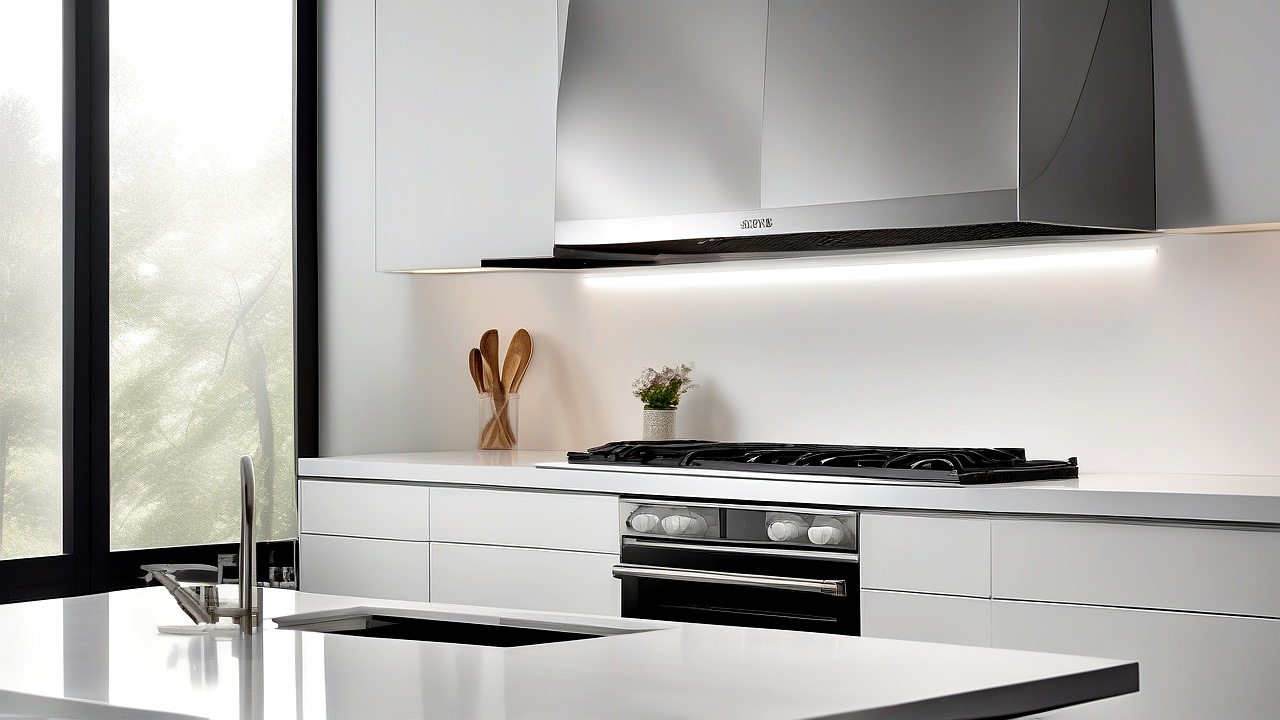
Furthermore, careless ductwork connection may increase grease buildup or dust accumulation during relocation, which may subsequently create a fire hazard. Therefore, before relocation, it is important to know the details about the disassembly, packaging, and transportation methods of the range hood.
Step-by-Step Guide: Range Hood Relocation
Step 1: Pre-Move Preparation & Safety Checks
A few important safety checks before range hood relocation:
- Power Off & Unplug: First switch off the main power supply of the range hood and unplug it. While doing this take care that the circuit breaker is not connected to any other appliance.
- Remove Grease Filters: Most range hoods have aluminum mesh filter or charcoal filter. Take them apart during relocation, as they can be heavy and fragile.
- Check Duct Connector: If there is a duct pipe connected to the range hood, loosen it. It may break or collide with other appliances during relocation.
- Secure Loose Parts: Secure the movable parts like fan blade with tape or bubble wrap. It will not cause any damage during relocation.
Step 2: Disassembling the Range Hood
A few important points to keep in mind while disassembling for range hood relocation:
Removing the Range Hood from the Wall/Ceiling
Range hoods are usually installed in two ways:
- Wall-Mounted Range Hood:
- There are two mounting screws on both sides under the range hood. Remove them.
- If the range hood is too heavy, have an assistant lower it slowly.
- wall. While doing this loosen the wire nuts or connector clips and set them aside.
Unplug the electrical wiring connected to the
- Island Range Hood:
- Island range hood is usually suspended from the ceiling. To remove them, remove the mounting bracket attached to the ceiling.
- In this case, be careful when working near the ceiling, so as not to cause any damage.
Storing Electrical Components
Set aside the control panel or push button switch of the range hood. After relocation, they have to be connected again while installing at the new place. If they are kept separately, there is less chance of short circuit or wiring damage.
Step 3: Packaging the Range Hood for Safe Transport
A few important tips to keep in mind while packing for range hood relocation:
Choosing the Right Packaging Material
- Bubble Wrap: Wrap the range hood with bubble wrap. Pay particular attention to glass panel or stainless steel surface.
- Cardboard Box: If there is no separate custom box for the range hood, use a larger size moving box. But definitely fill the inside of the box with foam padding or air pillows.
- Plastic Covers: Cover the exhaust fan or duct opening of the range hood with a plastic bag to prevent dust from entering.
Securing Loose Parts Inside the Box
Pack the parts that have been set aside during range hood relocation in separate zip-lock bags and place them in the box. For example:
- Grease Filters (if reusable)
- Charcoal Filters (if applicable)
- Mounting Screws & Brackets
- Electrical Wiring (if kept separate)
Step 4: Loading & Transporting the Range Hood
A few important things to keep in mind while loading and transporting during range hood relocation:
Loading the Range Hood into the Vehicle
- Upright Position: Always keep the range hood in the upright position. Never store sideways or upside down, as this may damage the fan blade or motor.
- Use Straps or Ropes: If the range hood is very heavy, secure it with moving straps or ropes so it does not fall while loading into the vehicle.
- Keep Away from Other Items: During range hood relocation, do not place it near other heavy items. Specifically, keep it away from sharp objects or heavy furniture to avoid damage.
Transporting Safely
- Smooth Driving: Drive carefully while transporting the range hood during relocation. The range hood may be damaged if you make sudden stops or turns.
- Cover the Vehicle: If possible, cover the range hood with a tarp to keep out dust or rainwater.
- Check for Shifting: Every 30-40 minutes, get inside the vehicle and check if the range hood is moving. If a problem occurs, stop the vehicle and secure it again.
Step 5: Unloading & Reinstallation at the New Location
The last step of range hood relocation is reinstallation at the new place. While doing this, keep a few important points in mind:
Preparing the New Location
- Measure the Space: Before placing the range hood, measure the space to ensure there is enough room. Specifically, check the position of the duct opening and electrical outlet.
- Clean the Area: Before installing the range hood in the new location, clean the entire area. Specifically, remove any grease or dust.
Reinstalling the Range Hood
- Mounting the Range Hood:
- If it is a wall-mounted range hood, install the mounting bracket in the new location.
- If it is an island range hood, connect it to the ceiling using the suspension kit.
- Connecting Electrical Wiring:
- Reconnect the electrical wiring that was set aside during relocation.
- If any wires are loose, secure them with wire nuts.
- Reattaching Grease Filters:
- After relocation, reattach the grease filters.
- If there are charcoal filters, replace them as well.
- Testing the Range Hood:
- After everything is connected, turn on the range hood to ensure it is working properly.
- If there is any unusual noise or vibration, check again to ensure everything is connected properly.
Common Mistakes to Avoid During Range Hood Relocation
Many people make some common mistakes during range hood relocation that can cause problems later. Below are those mistakes and their solutions:
| Mistake | Problem | Solution |
|---|---|---|
| Storing the range hood sideways or upside down | The fan blade or motor may be damaged | Always keep it in the upright position |
| Not unplugging the electrical wiring | A short circuit or electric shock may occur | Always turn off the power and unplug the wiring before relocation |
| Not removing the grease filters | The grease filters may be damaged during relocation | Secure and set aside the grease filters |
| Storing the range hood near other heavy items | The chance of damage increases | Keep the range hood separate during relocation |
| Not loosening the duct connector | The duct pipe may break during relocation | Loosen the duct connector before moving |
Extra Tips for Special Range Hood Types
Not all range hoods are the same. Some special types require extra care during relocation. Below are additional tips for relocating these special types of range hoods:
Downdraft Range Hood
Downdraft range hood relocation requires extra caution because they are typically built-in and have a retractable mechanism. During relocation:
- Retractable Panel: The retractable panel may break, so fold and secure it before relocation. Be careful not to put too much pressure on the panel while folding.
- Duct Connection: The duct connection of a downdraft range hood is usually toward the floor. Separate and properly package the duct pipe during relocation. If any part of the duct is damaged, it may cause installation issues later.
- Weight Distribution: Downdraft range hoods are typically heavy, so it is best to move them with two people. Trying to move it alone may damage the range hood or cause personal injury.
- Electrical Wiring: There is separate wiring for the retractable mechanism. Avoid tearing or damaging any part of the wiring during relocation. If needed, take pictures of the wiring to make reinstallation easier.
Island Range Hood
Island range hoods are typically installed in the middle of the kitchen and suspended from the ceiling. Extra care is needed during relocation because they are heavy and delicate. For relocation:
- Ceiling Mount: The ceiling mount is a critical part of the island range hood. If any part of the mount is damaged during relocation, proper installation may not be possible later. Set aside and secure the mount.
- Duct Work: The duct of an island range hood typically runs through the ceiling. If any part of the duct is damaged during relocation, repairs may be difficult. Know the duct’s location beforehand and be careful during relocation.
- Balancing: After relocation, check if the island range hood is properly balanced in the new location. If it is not balanced, it may make noise or become damaged while operating.
- Professional Help: It is best to get professional help for island range hood relocation because it is very heavy and delicate. Professional help reduces the chance of damage during relocation.
Ducted vs. Ductless Range Hood Relocation
There are two types of range hoods: ducted and ductless. Different precautions are necessary for each type during relocation.
| Feature | Ducted Range Hood | Ductless Range Hood |
|---|---|---|
| Duct Connection | Smoke exits through the duct. Avoid damaging the duct during relocation. | No duct is required, so there is no need to worry about the duct during relocation. |
| Installation Complexity | Ducted range hood relocation requires connecting it to the duct in the new location, which can be somewhat complex. | Ductless range hood relocation only requires connecting the power and changing the filter, making it easier. |
| Maintenance | Since smoke exits through the duct, it is important to keep the duct clean. Clean the duct after relocation. | Only the filter needs to be changed. There is no need to worry about the duct. |
| Noise Level | Ducted range hoods typically make more noise because air flows through the duct. | Ductless range hoods make comparatively less noise. |
Professional vs. DIY Relocation
Range hood relocation can be done in two ways: DIY or with professional help. Which method is best for you depends on the type, weight, and your experience with range hood relocation.
- DIY Relocation:
- Lower cost.
- May take more time.
- Not suitable for heavy or delicate range hoods.
- Can be done if you have a good understanding of the relocation process.
- Professional Help:
- Higher cost.
- Takes less time.
- Suitable for all types of range hoods.
- Professional help reduces the chance of damage.
If your range hood is heavy or you do not have a good understanding of the relocation process, it is best to get professional help. This reduces the chance of damage during relocation and potential issues during future use.
Conclusion
The most important aspect of range hood relocation is caution and care. Not all range hoods are the same, so before relocation, learn about the type of range hood and gather the necessary equipment and assistance. Whether it is a downdraft, island, ducted, or ductless range hood, following the tips above reduces the chance of damage during relocation.
If your range hood is heavy or you do not have a good understanding of the relocation process, it is best to get professional help. This reduces the chance of damage during relocation and potential issues during future use. After relocation, check that the range hood is properly installed and, if needed, get professional help. Finally, read the manual that came with the range hood and test it after relocation to ensure everything is working properly. If any issues arise, get professional help quickly. Taking these precautions during relocation ensures your range hood will work well for a long time.

About the Author
Hi I am an Engineer I have passed my diploma in Engineering in 2007. Academically I have studied about home appliances and various motors and machineries. In 2012 I have started my blogging and learned a lot of things about home appliances especially washing appliances, washing and cleaning related products, and eequipments. In 2019 I have started my blog https://appliancesky.com to provide my research and experience with my fan and followers.