The Right Way to Move an Ice Maker: Safely Transporting and Moving Guide
Introduction: Things to Know Before Making an Ice Maker Move
Many people face the trouble of moving an ice maker when they change houses or move to a new place. But if you don’t know the right steps, this device can get damaged. There are a few important things to keep in mind before moving the ice maker:
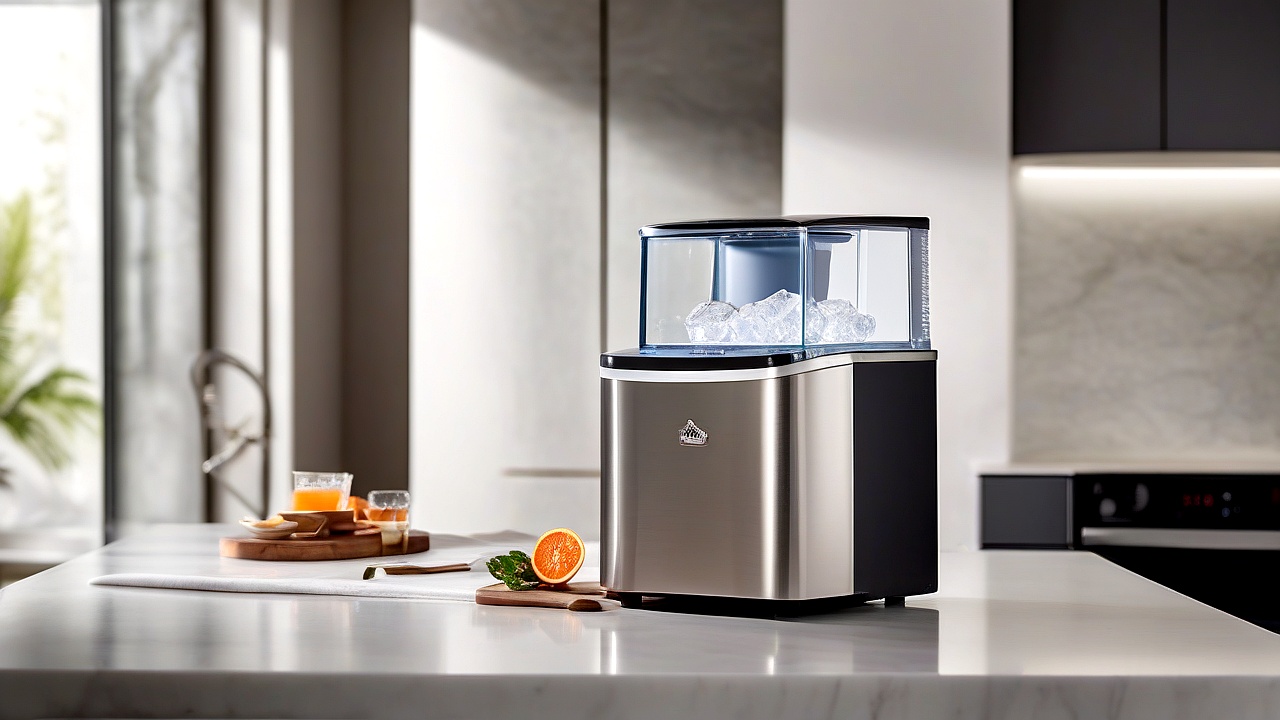
- Disconnect the water line and power connection to the ice maker
- Protection of internal components such as water pump, filter system and ice tray
- Cleaning and drying the drainage system
- Using proper packaging material
In this guide we’ll learn how to safely transport an ice maker, what tools will be needed, and how to reset it after a move.
Preparation before moving the ice maker: necessary equipment and safety measures
Required Equipment List
Before moving the ice maker, gather the following tools:
| Tools | Usage |
|---|---|
| Transport box or carton | Carrying the ice maker safely |
| Bubble wrap or foam sheet | Protecting internal parts and the body |
| Plastic bags and rubber bands | Sealing water lines and electrical connections |
| Screwdriver set | Opening disconnectable parts |
| Tape measure and marker | Marking cable and pipe lengths |
| Hand truck or dolly | Moving a heavy ice maker |
| Gloves and safety goggles | Working safely |
Safety measures: Things to be aware of
Follow some important safety tips when moving the ice maker:
- Power off: Unplug the ice maker completely and disconnect the power supply.
- Shut off the water supply: Turn off the main water line and drain the residual water.
- Allow cooling time: Wait until the ice maker has cooled completely.
- Carry heavy equipment carefully: Use a hand truck or dolly to lift the ice maker. Do not lift it directly.
- Check for leaks: Inspect the water tank and pipes for leaks before moving.
Step by Step Ice Maker Dismantling and Packaging
Step 1: Disconnect the ice maker’s power and water connections
Be sure to follow the steps below before removing the ice maker:
- Disconnect the power supply:
- Unplug the ice maker.
- If there is a direct connection from a wall outlet, turn off the circuit breaker.
- Close the water supply line:
- Turn off the main water line valve.
- If the ice maker has its own water line, disconnect it.
- Drain residual water:
- Place a towel on the bottom of the ice maker.
- Open the drain pan and discard the residual water.
Step 2: Removing the Internal Parts
Inner parts of the ice maker should be packaged separately. Common parts to open:
- Ice tray: Most ice makers have an open ice tray. Separate it and wrap it in bubble wrap.
- Water filter: If the ice maker has a water filter, remove it and set it aside for reinstallation.
- Drain pan: Open the drain pan and clean and dry the water and ice residue inside.
- Electrical connections: If any wires are loose, secure them with tape.
Step 3: Packaging the Ice Maker
The ice maker must be properly packaged for transport. Follow the steps below:
- Body protection:
- Wrap the entire body of the ice maker with bubble wrap or foam sheet.
- Make sure no part is left exposed.
- Cable and pipe protection:
- Separate all cables and pipes by wrapping them in bubble wrap and taping them.
- If a pipe is too long, fold it.
- Keep in transport box:
- Place the ice maker in a sturdy carton or transport box.
- Stuff the inside of the box with foam or bubble wrap to prevent shock damage.
- Place “FRAGILE” and “THIS SIDE UP” stickers on the box.
Precautions when transporting the ice maker
Rules for Carriage
Keep the following points in mind when transporting the ice maker in a vehicle:
- Keep it upright: Never tilt the ice maker. Always carry it upright.
- Secure it well: Place the ice maker inside the vehicle so it won’t be damaged by jolts.
- Keep away from airbags: If the vehicle has airbags, do not place the ice maker near them.
- Keep it in a cold and dry environment: Keep the ice maker away from direct sunlight or hot environments.
Extra Precautions for Long Distance Transport
If the ice maker has to be transported far away, observe the following points:
- Use professional moving services: Use professional movers for heavy and sensitive equipment.
- Check insurance: Verify the moving company’s insurance policy.
- Inspect the transport box: Make sure the transport box is tight and secure.
- Road conditions: Take extra care when transporting the ice maker on rough roads.
Step 3: Checking Ice Maker Performance
After resetting the ice maker, there are a few important performance checks to ensure everything is in order. Failure to do so may cause problems later. Follow the steps below:
- Ice production test:
- Wait at least 2-3 hours after powering on.
- Check if there is enough ice in the ice tray. If not, there may be a problem with the water supply or power connection.
- Some ice makers have “Ice Ready” or “Ice Full” indicators—check them.
- Water leakage test:
- Check for water pooling under or on the sides of the ice maker.
- Inspect the water inlet pipe and water tray for cracks or corrosion.
- If leakage exists, the pipe must be resealed.
- Sound and vibration testing:
- Listen for unusual noises or excessive vibrations while the ice maker is running.
- If the noise is excessive, ensure the ice maker is completely level.
- Some models have vibration reducers—check that they are in place.
- Temperature control test:
- Check that the ice maker’s temperature control system is working properly.
- If the ice is melting excessively or freezing too much, recheck the thermostat settings.
Common problems and solutions
If a problem occurs after resetting the ice maker, find the solution from the table below:
| Problem | Possible cause | Solution |
|---|---|---|
| Not making ice | Water supply shut off, pipe blockage, or power connection problem | Open the water valve, clean the pipes, and check the power |
| Excessive vibration | Ice maker not level, vibration reducer damaged | Place the ice maker on a flat surface, check the vibration reducer |
| Water leaking | Cracks in water inlet pipe, corrosion in water tray | Reseal pipes, replace water tray |
| The ice is melting too much | Poor temperature control system | Recheck thermostat settings |
Maintenance Tips
Do some regular maintenance to keep the ice maker in good condition for a long time:
- Clean regularly: Clean ice or dirt from the ice tray and water tray.
- Change the water filter: If the ice maker has a water filter, replace it every 6 months.
- Control temperature: Keep the ice maker out of direct sunlight and ensure adequate ventilation.
- Follow the instructions: Follow the maintenance instructions given in the ice maker’s manual.
Precautions after ice maker reset
After resetting the ice maker, taking some precautions will help it last longer and avoid problems. Keep the following things in mind:
- Monitor the first few days: Check the performance regularly for the first few days after starting the ice maker. Fix any abnormalities quickly.
- Do not make excess ice: Excess ice in the ice tray puts extra strain on the ice maker. Remove ice regularly.
- Check electrical connections: Check the power supply and water supply regularly. Fix any problems quickly.
- Follow the instructions: Follow the instructions given in the ice maker’s manual. This will help you avoid problems in the long run.
Conclusion
It is important to follow the entire process correctly when moving the ice maker and resetting it in a new location. If you follow the steps above, the ice maker can be safely moved and properly set up in the new location.
Remember, the most important thing when moving an ice maker is to follow safety measures. Improper use of tools, disconnection of power and water connections, and improper packaging may damage the ice maker.
There are a few important things to keep in mind while setting up the ice maker in a new location. For example: placing it on a flat surface, ensuring adequate ventilation, properly fitting water and power connections, and checking performance. Failure to do so may cause ice maker problems later.
Finally, maintain the ice maker regularly to keep it in good condition for a long time. Keep it clean, change the water filter, and control the temperature. Also, follow the instructions given in the ice maker’s manual. Then your ice maker will work reliably for a long time.
Hopefully, this guide will help you complete the process of removing and resetting the ice maker easily. If you encounter any problems, try a quick fix or seek the help of a professional technician.
Thank you from ApplianceSky! Visit our website regularly for more home appliance tips and guides.

About the Author
Hi I am an Engineer I have passed my diploma in Engineering in 2007. Academically I have studied about home appliances and various motors and machineries. In 2012 I have started my blogging and learned a lot of things about home appliances especially washing appliances, washing and cleaning related products, and eequipments. In 2019 I have started my blog https://appliancesky.com to provide my research and experience with my fan and followers.