Modern Washer Machine Installation: Step-by-Step Installation Guide for Washing Equipment
Introduction: Why is it important to install the washer machine correctly?
If your new washing machine is not installed properly after purchase, many problems can arise. For example, excessive vibration, water leaks, higher power consumption, and even reduced machine life. So, in this guide we will show you how to install your front-load or top-load washing machine safely and correctly.
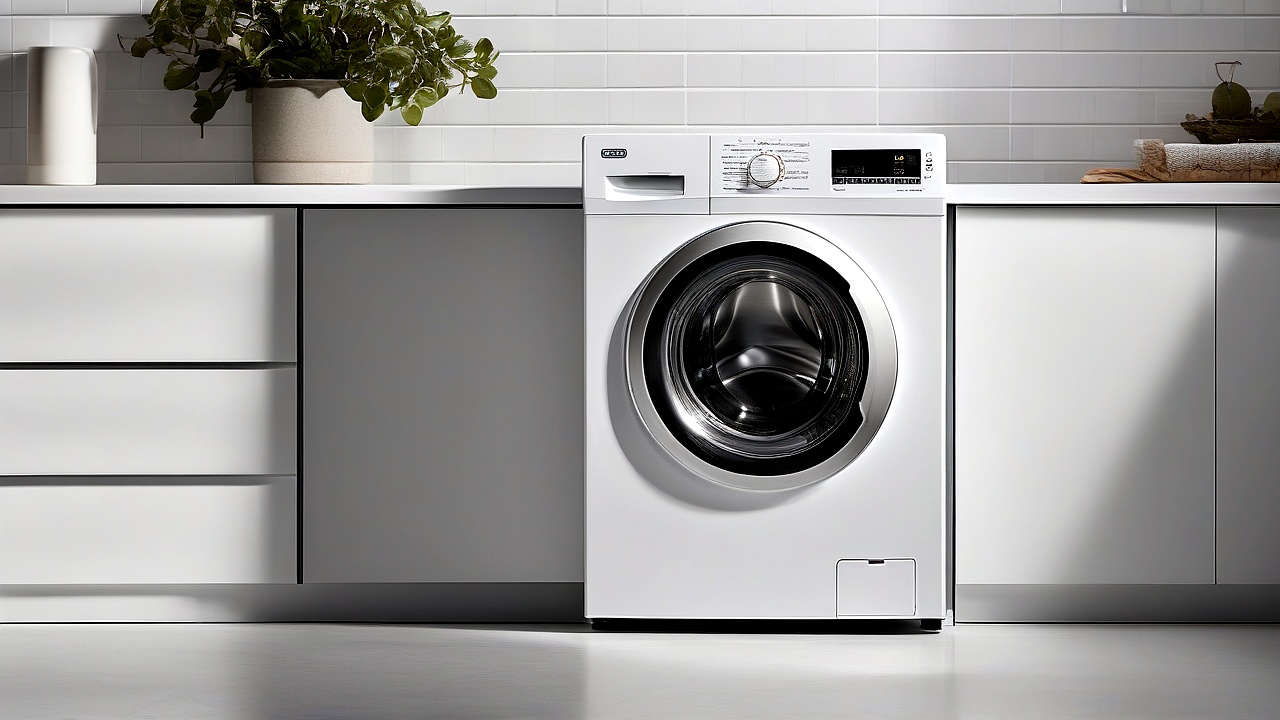
Following this guide will allow you to install it yourself, or have a technician guide you properly. Let’s get started!
Preparation Phase: Things to Check Before Installation
1. Choosing the Right Location
The best place to install a washing machine is a place where:
- Water supply and drainage systems are easily accessible – such as near bathrooms, laundry rooms, or kitchens.
- A smooth and solid floor – so that the machine does not vibrate while running.
- Adequate lighting and ventilation – to make maintenance easier.
- Close to a power supply – to avoid using long cables.
Important Tips:
- Keep the washing machine in a dry location. Excess moisture can damage the machine.
- Place the machine at least 2 inches away from the wall to allow for air circulation.
- If the machine is placed on an upper floor (e.g., in a storage room), make sure the floor is strong enough to support the weight.
2. Collection of necessary tools and materials
To install the washing machine, you will need the following items:
| Tools | Description |
|---|---|
| Washing machine installation kit | The kit typically comes with the machine. It includes the water supply pipe, drain pipe, and other accessories. |
| Adjustable wrench | Used to tighten pipes and fittings. |
| Leveling tool (spirit level) | To check if the machine is level. |
| Plumber’s tape (Teflon tape) | Used in pipe joints to prevent water leaks. |
| Screwdriver set | To secure various parts of the machine. |
| Buckets and towels | To catch water in case of leaks. |
| Gloves | For safety. |
3. Power supply security check
Washing machines require a dedicated power supply to operate. Make sure that:
- Your home’s electrical system has a capacity of at least 30 amperes.
- The machine is connected to a grounded outlet.
- The power supply cables are undamaged.
Caution: If your electrical system is outdated, consult an electrician.
Step by Step Washer Machine Installation Process
Step 6: Initial Commissioning and Testing
Start the machine for the first time after connecting everything properly. Check the following points:
- Water filling and draining – whether the machine fills and empties water properly.
- Drum rotation – whether the drum rotates properly.
- Vibration and noise – whether there is excessive vibration or unusual noise.
- Water leaks – whether any water is leaking.
Tips: When running for the first time, wipe around the machine with a dry cloth so that any leaks can be detected immediately. Also, run an empty cycle first after starting the machine – that is, test the filling and emptying process without any clothes.
If everything is working properly, proceed to the next step. If any problem occurs, resolve it before testing again.
—
Possible problems and solutions
Some common problems may occur during installation or initial use of the washing machine. Below are their solutions:
| Problem | Reason | Solution |
|---|---|---|
| Water leak | Loose pipe connections or improper use of plumber’s tape. | Retighten the pipes and apply plumber’s tape. |
| Machine not starting | Power supply issue or machine is turned off. | Check the power supply and turn on the machine. |
| Drum not rotating | Motor issues or loose belts. | Inspect the belt by referring to the manual or contact a technician. |
| Abnormal noise or vibration | Machine is unlevel or unbalanced. | Re-adjust the machine’s legs to ensure even placement. |
| Error code is displayed | Internal machine issue. | Refer to the manual to understand the error code and resolve it. |
Important: If a problem persists or cannot be resolved, seek help from an experienced technician. Attempting to repair the machine yourself can be dangerous.
—
Washer Machine Care and Maintenance After Installation
After installing the washing machine, follow certain care and maintenance guidelines to ensure it operates properly for a long time. Below are some important tips:
- Clean the machine regularly – Clean the inside and outside of the machine at least once a month. Pay special attention to the drum, detergent dispenser, and door seal.
- Use detergent correctly – Using too much detergent can cause buildup inside the machine and reduce its performance.
- Keep the machine empty when not in use – When the machine is not in use, leave the door open to allow moisture to escape. This prevents odors.
- Check the machine’s level regularly – If the machine is unlevel, vibration increases and its lifespan is reduced.
- Clean the machine’s filter – Most washing machines have a filter that traps dirt and debris. Clean this filter monthly.
- Inspect the machine’s pipes – Regularly check water supply and drainage pipes for leaks or blockages.
Tips: If the machine will not be used for an extended period, run an empty cycle before using it again. This keeps the internal parts clean and eliminates odors.
—
Conclusion
Installing a washing machine is an important task, as it affects the machine’s long-term performance and safety. You can easily install your washing machine yourself by following the steps above. However, if you encounter any issues during installation or notice any abnormalities after starting the machine, seek help from an experienced technician.
Remember, a properly installed washing machine will make your daily routine much easier. So, follow each step carefully during installation and perform regular maintenance to ensure the machine works properly for a long time.
We hope this guide helps you with your washing machine installation. If you have any questions, feel free to ask in the comments. Thank you!

About the Author
Hi I am an Engineer I have passed my diploma in Engineering in 2007. Academically I have studied about home appliances and various motors and machineries. In 2012 I have started my blogging and learned a lot of things about home appliances especially washing appliances, washing and cleaning related products, and eequipments. In 2019 I have started my blog https://appliancesky.com to provide my research and experience with my fan and followers.