Common Range Hood Problems and DIY Repair Solutions
Introduction: Common problems with range hoods
A kitchen range hood is an important appliance. It not only eliminates smoke and odors but also reduces the risk of fire while cooking. However, many people encounter several issues with this hood. For example, there is no sound when turning on the hood, the ventilation may not work properly, or the motor produces an annoying noise. Additionally, the hood lights may not function, or the filters may not be cleaned regularly.
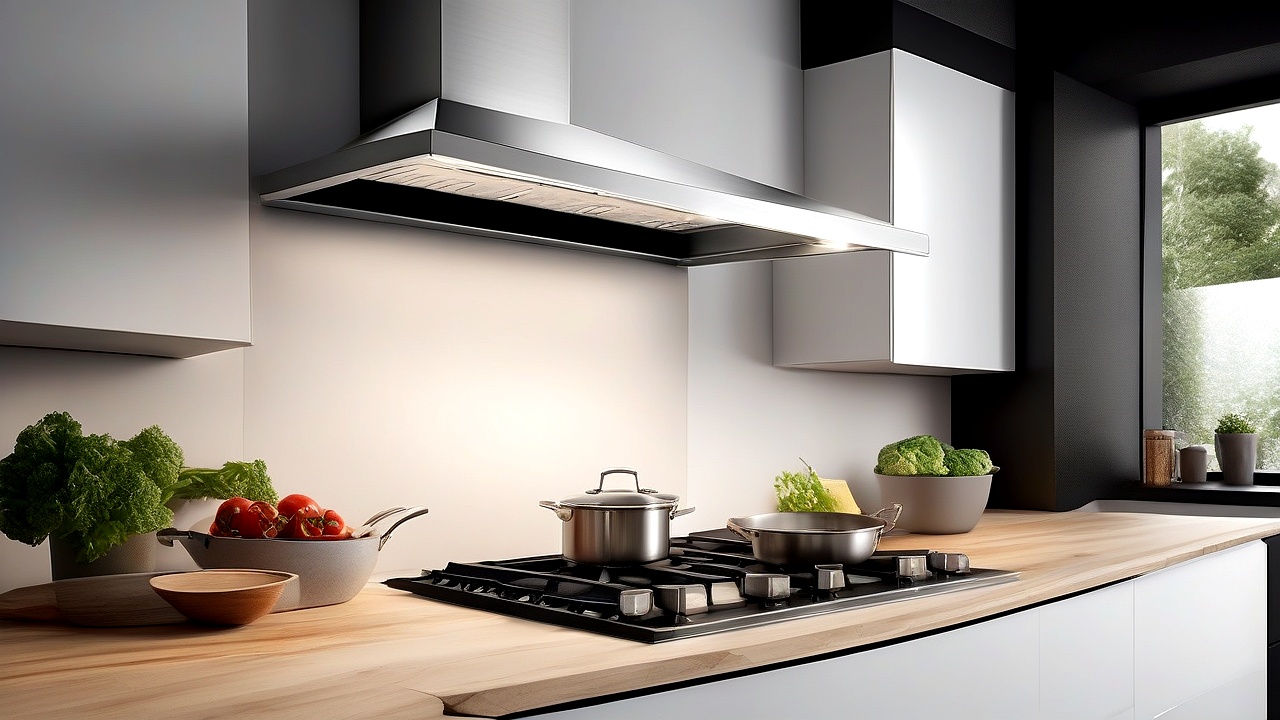
These problems can mostly be resolved with DIY repairs. Today, we will discuss the common problems of range hoods and their solutions. A step-by-step guide is included so you can fix these issues yourself.
Problem 1: No sound when turning on the hood (No Power/No Fan Operation)
Possible causes:
- Power supply problem: Check if the hood plug is properly inserted into the outlet or if the circuit breaker has tripped.
- Fuses or circuit breakers: Many hoods have fuses that can blow due to excessive current.
- Wiring connections: If there is a loose connection or damaged wire inside the hood, power will not reach the unit.
- Switches or control panel: Check if the switches or buttons on the control panel are not functioning.
- Motor failure: If the motor fails completely, there will be no sound when the hood is turned on.
DIY solution:
- Check the power:
- First, ensure the hood plug is properly inserted into the outlet. If not, plug it in correctly.
- Next, check the circuit breaker. If it has tripped, reset it.
- Check the fuse:
- Inspect if there is a fuse inside the hood. If the fuse is blown, replace it with a new one.
- Check the wiring:
- If you have experience with electrical work, inspect the wiring inside the hood. Tighten any loose wires and replace any damaged ones.
- Check the switch or control panel:
- Test the switches or buttons on the control panel. If a button does not work, it may need replacement.
- Check the motor:
- If all the above checks are fine but the hood still makes no sound, inspect the motor for damage. You may need professional assistance to replace the motor.
Problem 2: Poor Ventilation/Weak Suction When Turning on the Hood
Possible causes:
- Blocked filter: Metal or mesh filters inside the hood often accumulate grease and dust, restricting airflow.
- Duct blockage: If there is an obstruction (e.g., a bird’s nest or dust) in the duct connected to the hood, air cannot flow properly.
- Motor problems: A weakened or failing motor reduces suction power.
- Height or position of hood: If the hood is positioned too high above the stove, suction may be reduced.
DIY solution:
- Clear the filter:
- Remove the filters inside the hood. Most metal or mesh filters are washable.
- Clean them thoroughly with detergent and hot water. For heavily greasy filters, soak them in vinegar or baking soda.
- Dry the filters completely before reinstalling them.
- Check the duct:
- Inspect the duct for obstructions. Clear any blockages if found.
- If there is a leak in the duct, seal it using specialized tape or sealant.
- Check motor performance:
- If suction remains weak after cleaning the filter and ducts, test the motor’s performance.
- If the motor is weak, it may need replacement.
- Check the hood height:
- Ideally, the hood should be 20–24 inches above the stove. If it is too high, adjust its position.
Problem 3: Loud Noise or Rattling When the Hood is Turned On
Possible causes:
- Loose parts: Any loose components inside the hood, such as a fan blade, motor, or duct part, can cause noise.
- Objects stuck on fan blades: Grease buildup or small debris on the fan blades can create noise.
- Motor problems: Damaged motor bearings can cause excessive noise.
- Obstruction in the duct: Any blockage in the duct can lead to rattling sounds.
DIY solution:
- Tighten loose parts:
- Inspect all internal components of the hood. Tighten any loose parts.
- Clean the fan blades:
- Remove any debris or grease buildup from the fan blades.
- Check motor bearings:
- If the motor bearings are damaged, they should be replaced. This task typically requires professional assistance.
- Clean the duct:
- Remove any obstructions from the duct to eliminate noise.
Problem 4: Hood Light Not Working
Possible causes:
- Bulb burnout: The most common cause is a burnt-out bulb.
- Wiring problems: Faulty wiring to the light can prevent it from working.
- Switches or control panel: Malfunctioning switches or buttons on the control panel.
- Ballast failure: Some hoods contain a ballast that regulates voltage for the lights. If damaged, the light will not function.
DIY solution:
- Check the bulb:
- First, verify if the bulb is burnt out. Replace it if necessary.
- Check the wiring:
- If you have electrical experience, inspect the wiring for the lights. Tighten any loose connections and replace damaged wires.
- Check the switch or control panel:
- Test the switches or buttons on the control panel. Replace any non-functional buttons.
- Check the ballast:
- If your hood has a ballast, inspect it. Replace it if it is damaged.
Problem 5: Filters Get Greasy Too Quickly
Kitchen range hood filters becoming greasy quickly is a common issue, but several factors contribute to it. While many assume it is solely due to cooking habits, other elements—such as filter quality and cleaning frequency—also play a role. This problem is especially noticeable for those who frequently cook fried foods like chicken or burgers. The good news is that with a few simple steps, you can keep the filters effective for longer.
Possible causes:
- Using a low-quality filter: Poor-quality filters, such as carbon filters, do not retain grease as effectively as metal filters and require more frequent cleaning.
- Type of cooking: Cooking greasy or oily foods increases grease accumulation in the filters.
- Infrequent filter cleaning: Not cleaning filters regularly allows grease to harden, making it harder to remove.
- Hood height: If the hood is positioned too high above the stove, more grease escapes, increasing filter greasiness. The ideal height is 24 to 30 inches above the stove.
- Poor ventilation system: Older hoods with weak ventilation systems struggle to draw in air, leading to more grease buildup.
DIY solution:
- Use high-quality filters:
- Replace filters with high-quality options. Metal filters are the best choice as they retain grease and are easier to clean.
- When purchasing a filter, check its material and performance. Stainless steel filters are ideal.
- Clean the filter regularly:
- Clean filters every two weeks using hot water, dish soap, and a brush.
- Soak filters in hot water to loosen grease before scrubbing them clean.
- Ensure filters are completely dry before reinstalling them.
- Adjust cooking habits:
- Use less oil while cooking to reduce grease accumulation in the filters.
- Turn on the hood while cooking to help grease escape through the ventilation system.
- Check the hood height:
- Measure the distance between the hood and the stove. Adjust the hood to be 24 to 30 inches above the stove if it is too high.
- Inspect the ventilation system:
- Ensure the ventilation system is clean. Clean or replace it if necessary.
- Check that the system is functioning properly. If it is weak, consider repairing or replacing it.
Easy Tips for Filter Cleaning:
Follow these simple tips to make filter cleaning easier:
- Use baking soda and vinegar: After soaking filters in hot water, add one teaspoon of baking soda and one cup of vinegar. This helps remove grease.
- Use dish soap and hot water: Regular dish soap and hot water can also clean filters, but scrubbing is necessary for thorough cleaning.
- Use bleach (if needed): For heavily greased filters, clean them with a mixture of one tablespoon of bleach in one liter of water. Be cautious to avoid damaging the filter.
Filter change duration:
The frequency of filter replacement depends on usage. Metal filters typically last 6 months to 1 year, while carbon filters usually need replacement every 3 to 6 months.
Refer to the hood’s manual or manufacturer’s instructions for recommended filter change intervals. Regular filter replacement improves hood efficiency and keeps the kitchen environment clean.
Other Care Besides Filters:
In addition to filters, other maintenance tasks are important for range hoods. These include:
- Maintaining the exterior of the hood: Clean the exterior regularly to prevent grease buildup. Use mild soap and a soft cloth for cleaning.
- Cleaning the ventilation pipe: Grease can accumulate in the ventilation pipe. Clean it regularly to ensure proper airflow.
- Inspecting the motor and other parts: For older hoods, check the motor and other components. Repair or replace parts as needed to maintain functionality.
Conclusion
Greasy range hood filters are a common issue, but the solution is straightforward. Regular filter cleaning, using high-quality filters, and adjusting cooking habits play a key role in addressing this problem. Additionally, checking the hood height and ventilation system ensures optimal performance.
If you frequently cook fried or oily foods, use a high-quality metal filter and clean it every two weeks. Also, regularly clean and inspect other parts of the hood to keep it functioning efficiently for a long time.
Remember, a clean and efficient range hood not only keeps the kitchen environment clean but is also beneficial for your health. Regular maintenance and expert advice when needed will help your range hood remain reliable for years.

About the Author
Hi I am an Engineer I have passed my diploma in Engineering in 2007. Academically I have studied about home appliances and various motors and machineries. In 2012 I have started my blogging and learned a lot of things about home appliances especially washing appliances, washing and cleaning related products, and eequipments. In 2019 I have started my blog https://appliancesky.com to provide my research and experience with my fan and followers.