Air Gaps vs. High Loops: How to Stop Dirty Sink Water from Backflowing into Your Dishwasher
Why Dirty Sink Water Should Never Reach Your Dishwasher
Your kitchen dishwasher is designed to wash dishes with clean water. But when dirty water from the sink enters the dishwasher, it can contaminate the entire appliance. This problem is called backflow or back siphonage.
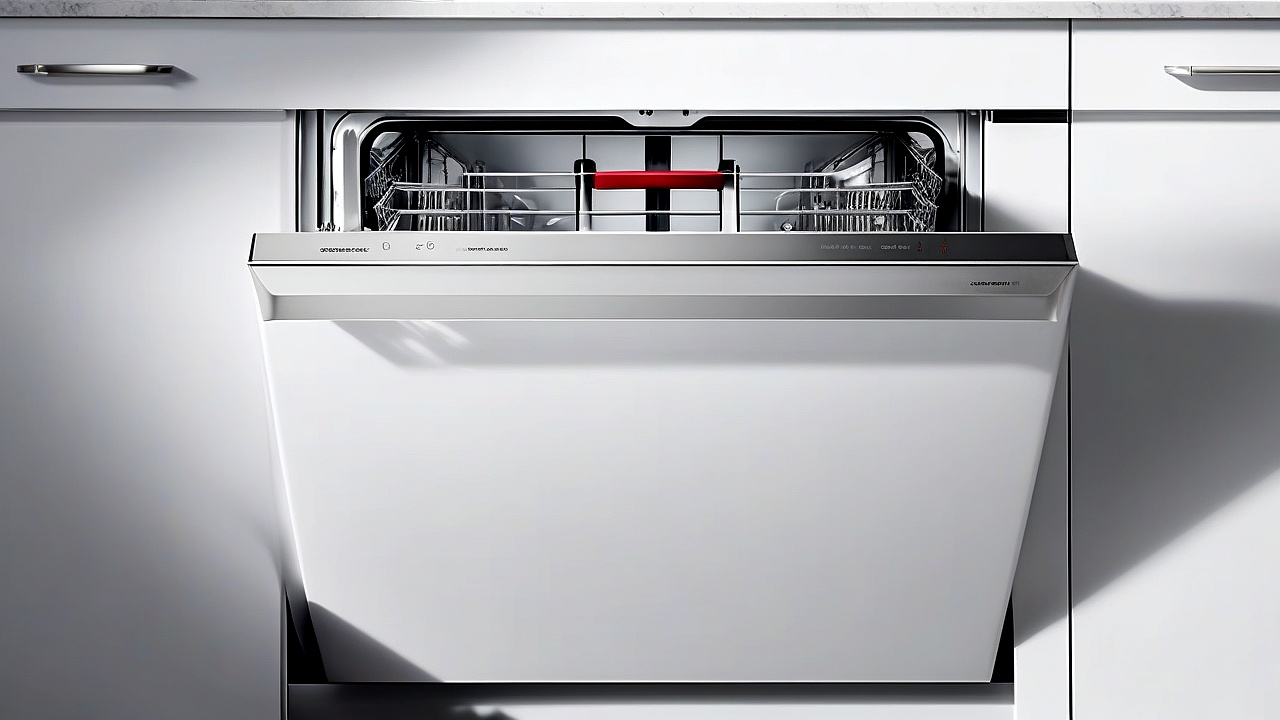
Backflow can cause bacteria, food particles, and detergent residue to build up inside the dishwasher, causing:
- Dishes not being cleaned properly
- A foul odor inside the appliance
- Excessive pressure on the drain pump and its failure
- Spread of food germs through the dishwasher to other areas of your kitchen
There are two important plumbing systems—Air Gap and High Loop—to prevent this problem. Let’s find out how they work and which one will work better for you.
Air Gap: The Reliable Solution for Backflow Prevention
An Air Gap is a small plastic or stainless steel device that is usually installed next to the sink or above the countertop. It looks like a small faucet, but its function is critical.
How an Air Gap Works
There are two small pipes inside the air gap:
- Inlet Pipe: It is connected to the drain of the sink. When sink water flows, it enters the air gap through this pipe.
- Outlet Pipe: It is connected to the drain hose of the dishwasher.
Now, when sink water flows, it enters the air gap. But this is where the key difference occurs:
- The Air Gap has a small air chamber inside that physically separates the water.
- If sink water tries to flow toward the dishwasher, the air chamber inside the air gap prevents that flow.
- As a result, dirty water cannot enter the dishwasher.
Air Gap Installation Rules
Some important points to keep in mind while installing an Air Gap:
- Location: It is usually installed next to the sink or above the countertop. In some cases, it can be installed near the dishwasher.
- Drain Hose Connection: The drain hose of the dishwasher must be securely connected to the outlet of the Air Gap. There should be no leaks.
- Sink Drain Connection: The inlet pipe of the Air Gap should be connected to the sink drain. A rubber gasket should be used to prevent leaks.
- Cleaning: The debris inside the Air Gap should be cleaned at least once a month. Many people forget this, causing it to clog and fail to prevent backflow.
Advantages of Air Gap
Using an Air Gap has several benefits:
- Most effective solution: This is the most reliable way to prevent backflow.
- Works with all dishwasher types: Whether built-in or portable, it functions in all cases.
- Easy to follow instructions: Most dishwasher manufacturers provide installation instructions for the air gap.
- Durable: If properly installed and maintained, it remains effective for years.
Disadvantages of Air Gap
There are some drawbacks to using an Air Gap in certain situations:
- Visible placement: Many people dislike its appearance since it sits above the countertop.
- Complex installation: In some cases, the plumbing setup makes it difficult to install.
- Risk of clogging: If not cleaned regularly, it may become clogged.
High Loop: A Simpler (But Less Reliable) Alternative
If installing an Air Gap is not possible in your kitchen plumbing system, then High Loop is an alternative solution. It works by installing the dishwasher’s drain hose in a loop at a high point.
How a High Loop Works
The principles of a High Loop are:
- The dishwasher drain hose should be installed so that it is above the highest level of the sink.
- Due to this loop, when water inside the dishwasher drains, it flows directly to the sink by gravity.
- If sink water tries to flow toward the dishwasher, this loop stops that flow.
High Loop Install Rules
A few important points to keep in mind while installing a High Loop:
- Hose height: The drain hose should be installed so that it is above the highest level of the sink. Usually, it is placed above the top edge of the sink.
- Secure Installation: The hose must be secured with a clamp so that it does not move on its own.
- No Kinks: There should be no folds or kinks in the hose, as it may obstruct water flow.
- Regular Check: The condition of the hose should be checked every few months to ensure there is no damage.
Advantages of High Loop
Using a High Loop has several benefits:
- Easy installation: It is much easier to install than an Air Gap. In most cases, this can be done yourself.
- Not visible: It is more aesthetically pleasing since it does not sit on the countertop.
- Low maintenance: It is less likely to clog.
- Works with all dishwasher types: Whether built-in or portable, it functions in all cases.
Disadvantages of High Loop
There are some drawbacks to using a High Loop in certain situations:
- Not always effective: If there is an issue with the plumbing system, the High Loop may fail to prevent backflow.
- Dependent on Gravity: If the position of the dishwasher is too low, the High Loop may not work effectively.
- Risk of clogging: Although low, debris accumulation can still clog the hose.
Air Gap vs. High Loop: Which One Should You Choose?
Now the question is, which one will work better for your kitchen? Let’s compare:
| Criteria | Air Gap | High Loop |
|---|---|---|
| Effectiveness | is most effective. 99% effective in preventing backflow. | works but not always. May fail in some cases. |
| Installation Complexity | Installation is relatively complicated. Knowledge of plumbing is required. | Installation is easy. Can be done by yourself. |
| Aesthetics | Many people don’t like it because it sits on the countertop. | Aesthetically better as it is not visible. |
| Maintenance | Clean at least once per month. | Requires little maintenance. |
| Cost | Relatively more expensive. | Very affordable. |
| Compatibility | Suitable for all types of dishwashers. | Suitable for all types of dishwashers. |
Decision: If it is possible to install an Air Gap in your kitchen plumbing system, then it will be the best solution. Because it is most effective and reliable. But if the plumbing system is complex or you don’t like the Air Gap for aesthetic reasons, then the High Loop is a better option.
Common Mistakes to Avoid with Air Gaps and High Loops
Many people make some common mistakes when installing an Air Gap or High Loop, which can prevent backflow prevention. Let’s learn about those mistakes and how to avoid them.
Common Mistakes Regarding Air Gaps
- Improper Installation: Many people do not install the Air Gap properly. As a result, it does not work effectively. Always follow the manufacturer’s instructions.
- Clogged Air Gap: If debris accumulates inside the air gap, it becomes clogged and cannot prevent backflow. Remember to clean it at least once every month.
- Leaky Connections: If there is a leak in the inlet or outlet pipe connection of the Air Gap, it cannot prevent backflow. Always use rubber gaskets and secure connections.
- Incorrect Height: The Air Gap must be installed above the highest level of the sink. If it is installed too low, backflow cannot be prevented.
Common Mistakes in High Loops
- Insufficient Height: Many people do not keep the hose high enough when installing the High Loop. As a result, backflow cannot be prevented. Always keep the hose above the highest level of the sink.
- Loose Hose: If the hose is not secured, it can move on its own and fail to prevent backflow. Always secure the hose with a clamp.
- Kinked Hose: If there is a kink in the hose, it can block water flow. Always keep the hose straight.
- Ignoring Maintenance: Many people do not pay attention to the maintenance of the High Loop. As a result, the hose becomes clogged. Check the condition of the hose every few months.
Step-by-Step Guide: Installing an Air Gap
If you want to install an Air Gap yourself, follow the steps below. Be careful when doing plumbing work and seek the help of a professional if necessary. A small mistake can damage your dishwasher’s performance or even cause water leakage. Let’s get started!
Tools and Materials Needed
- Air Gap kit (usually comes with the dishwasher)
- Adjustable wrench (for turning the pipe)
- Screwdriver (usually flathead or Phillips)
- Teflon tape (to prevent thread leaks)
- Tube cutter (if new pipe cutting is required)
- Bucket & towel (for holding water and cleaning)
- Dishwasher drain hose (if the old one is damaged)
Step 1: Water Supply Shut-Off
Be sure to turn off the water supply to the dishwasher before starting the installation. Then turn off the power switch of the dishwasher. This will help avoid any accidents.
Step 2: Disconnect Old Drain Hose
If your dishwasher already has a drain hose attached, remove it. Usually, it is clamped with a clamp. Open the clamp and separate the hose.
Step 3: Air Gap Installation
Determine the location of the Air Gap. For most dishwashers, it is near the kitchen sink. Now:
- Place the top of the air gap on the top of the sink. Usually, it enters through a hole.
- Attach the bottom part to the drain hose of the dishwasher. A small pipe or hose is used here.
- Attach the top of the Air Gap to the kitchen sink. For this, you can use a new drain hose or the old one.
Step 4: Secure Connections with Teflon Tape
Use Teflon tape on all connections. This will reduce the possibility of water leakage. Teflon tape must be used, especially where pipes are joined to other pipes.
Step 5: Test the Installation
Once everything is in place, turn on the water supply to the dishwasher and run a short dishwasher cycle. Check if there is any water leakage or if the Air Gap is working properly. If any problem occurs, check the connection again.
Common Issues and Troubleshooting
Sometimes after installing an Air Gap, some problems may occur. For example:
- Water leakage: If Teflon tape is not used in place of any connection or the pipe is not fixed properly, water may leak. In this case, check the connection again.
- Air Gap Not Working: If the upper part of the Air Gap is not placed properly, it will not work. Try reinstalling it.
- Drain hose blocked: If there is any debris or food stuck inside the drain hose, the water in the dishwasher will not drain properly. Clean the hose.
Maintenance Tips for Long-Term Use
Follow some rules to maintain the long-lasting performance of the Air Gap:
- Clean at regular intervals: Open the top of the Air Gap and clean the inside at least once a month. This will prevent debris from accumulating.
- Check the drain hose: Inspect the condition of the drain hose every six months. If any damage occurs, replace it.
- Reuse Teflon tape: If any connections become loose, reuse Teflon tape.
Conclusion
After reading this article, I hope you understand how important an Air Gap is for a dishwasher. It not only prevents backflow but also helps maintain the long-lasting performance of the dishwasher. If you want to install an Air Gap yourself, follow the steps above. However, if there is a small mistake in the plumbing work, it can cause great damage. So, if you cannot do it yourself, seek the help of a professional plumber.
Finally, remember that maintenance is important for any appliance. The air gap should also be cleaned and checked regularly. Then your dishwasher will always work well, and you will get clean and sterile dishes.
I hope this article has been useful for you. If you have any questions, feel free to ask in the comment box. Thanks!

About the Author
Hi I am an Engineer I have passed my diploma in Engineering in 2007. Academically I have studied about home appliances and various motors and machineries. In 2012 I have started my blogging and learned a lot of things about home appliances especially washing appliances, washing and cleaning related products, and eequipments. In 2019 I have started my blog https://appliancesky.com to provide my research and experience with my fan and followers.