Why do dryer drum glides and felt seals corrode over time?
Internal Mechanics of Dryer Machines: Role of Drum Glides and Felt Seals
When your dryer operates at full speed, the inner drum rotates and dries clothes efficiently. But behind this process are several important components, including drum glides and felt seals.
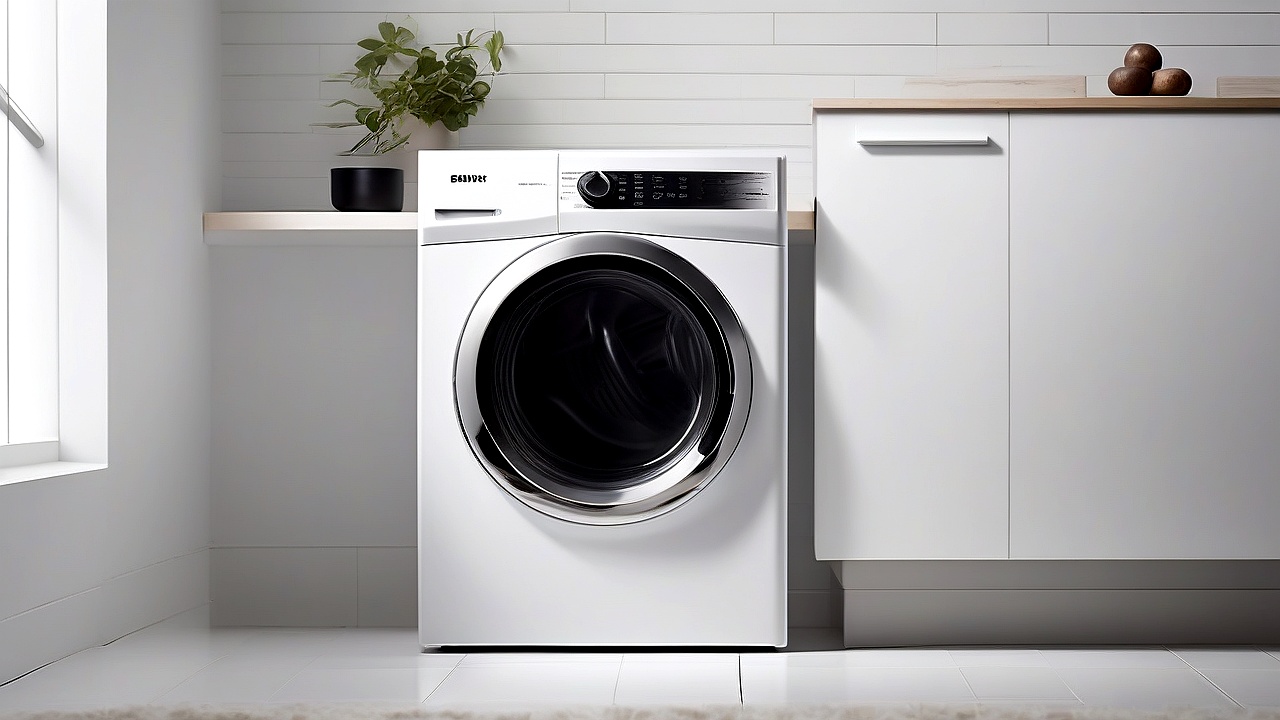
These two parts help maintain smooth drum movement and control airflow. However, they can degrade over time, reducing dryer performance and increasing energy consumption. Let’s examine why this erosion occurs and how to address it.
What are drum glides and why do they decay?
Drum glides are small plastic or metal parts that support the drum and help it rotate smoothly by reducing friction. They are usually located on either side of or below the drum.
Some of the main reasons they wear out over time include:
- Frictional wear: Every time the drum rotates, friction with the glides causes them to gradually wear. This wear is especially high when drying heavy fabrics.
- Effects of heat and humidity: High temperature and humidity inside the dryer weaken the glide material. Plastic glides become brittle due to heat.
- Dust and dirt accumulation: If not cleaned regularly, dust builds up around the glides and increases friction.
- Carrying excess weight: Heavy clothing or improper loading puts extra stress on the glides, causing them to wear faster.
What are the symptoms of drum glide wear?
If your dryer drum glides are worn, common symptoms may include:
- Unusual noise during drum rotation.
- Wobbling or imbalance during drum rotation.
- Reduced dryer performance and increased power consumption.
- Small plastic fragments or powder near the drum.
What are felt seals and why do they corrode?
Felt seals are soft felt material that controls airflow around the drum and prevents dust from entering. They also reduce friction on the drum.
Common causes of felt seal corrosion include:
- Friction and pressure: Friction between the drum and felt seals during rotation causes gradual wear.
- Heat and humidity: High temperatures and moisture weaken the felt material.
- Dust and dirt: Accumulated dust inside the felt accelerates wear.
- Chemical exposure: Laundry detergents or other chemicals can damage the felt material.
What are the symptoms of felt seal corrosion?
If felt seals are worn, potential issues include:
- Dust entering the dryer from outside.
- Unusual noise during drum rotation.
- Reduced dryer performance and increased power consumption.
- Small felt fragments near the drum.
Ways to prevent drum glide and felt seal corrosion
Follow these simple steps to extend the life of these components and reduce wear:
1. Keep them clean
Clean the inside of your dryer at least once a month. Pay special attention to removing dust and debris around the drum glides and felt seals.
Use the following for cleaning:
- Mild soap or detergent mixed with warm water.
- A soft brush or cloth.
- A vacuum cleaner for dust removal.
Important: Never use abrasive brushes or harsh chemicals, as they can damage the glides and felt.
2. Be cautious with heavy fabrics
Drying heavy fabrics like jeans, towels, or bedsheets puts extra stress on the drum. This increases the likelihood of glide and felt wear.
Solutions include:
- Dry heavy fabrics separately in smaller loads.
- Ensure the drum load stays within the recommended weight limit.
- Follow the dryer’s manual for maximum load guidelines.
3. Select the right temperature
Running the dryer at excessively high temperatures damages internal components. Felt seals, in particular, degrade quickly under high heat.
Solutions include:
- Choose the drying temperature based on fabric type.
- Use low heat for delicate fabrics.
- Follow the dryer’s manual for temperature guidelines.
4. Perform regular maintenance
Regular maintenance is essential for long-term dryer performance. Have a professional technician inspect your dryer every six months.
Maintenance tasks may include:
- Checking the condition of drum glides and felt seals.
- Cleaning the dryer’s interior.
- Inspecting lubrication on mechanical parts.
5. Use high-quality replacement parts
If drum glides or felt seals need replacement, use high-quality parts. Low-quality parts wear out quickly and can further reduce dryer performance.
Follow the manufacturer’s guidelines and use OEM (Original Equipment Manufacturer) parts.
Guidelines for replacing drum glides and felt seals
If glides or felt seals are worn and need replacement, follow these steps. Keep in mind that this can be a complex process, so if you’re unsure, seek help from a professional technician.
Steps to replace drum glides
- Turn off and unplug the dryer: For safety, turn off the dryer completely and unplug it.
- Remove the drum: Most dryers allow drum removal. Unscrew the rear panel and separate the drum.
- Remove the old glides: Glides are usually secured with screws or clips. Remove them carefully.
- Install new glides: Place the new glides in the correct position and secure them with screws or clips.
- Reinstall the drum: Reattach the drum and tighten the screws.
- Test the dryer: Turn on the dryer and check for smooth drum rotation.
Steps to replace felt seals
- Turn off and unplug the dryer: For safety, turn off the dryer completely and unplug it.
- Remove the drum: Follow the steps above to remove the drum.
- Remove the old felt seals: Felt seals are usually attached with adhesive or clips. Remove them carefully.
- Install new felt seals: Place the new felt seals in the correct position and secure them with adhesive or clips.
- Reinstall the drum: Reattach the drum.
- Test the dryer: Turn on the dryer and check if the felt seals are functioning properly.
Dryer repair costs and when to seek professional help
If drum glides or felt seals need replacement, costs vary based on your dryer’s model, brand, and the part being replaced. Typical costs in the US market include:
- Drum glide replacement: $10 to $30 per pair. For high-end brands like LG, Samsung, or Whirlpool, this cost may reach up to $40.
- Felt seal replacement: $15 to $40 per set. For premium brands like Bosch or GE Appliances, this cost may be higher.
- Labor costs: A professional technician typically charges $50 to $150. Costs may be 20-30% higher in urban areas.
- Full dryer replacement: If the entire dryer needs replacement, costs range from $500 to $1,500. However, replacing only the damaged parts is often sufficient.
Ways to reduce repair costs
Take these steps to lower repair costs:
- Purchase parts yourself: Buy original spare parts online from sites like Amazon, eBay, or ApplianceSky at lower prices than retail stores.
- Look for discounts or offers: Some technicians or service centers provide special discounts for new customers. Ask about pricing upfront.
- Hire a local mechanic or freelance technician: Freelance technicians often charge less than repair shops, but verify their work quality.
- Check warranty or guarantee: If your dryer is still under warranty, take advantage of free repair services. Brands like LG or Samsung offer warranty services.
When to seek professional help
While minor repairs can often be done yourself, some situations require professional assistance. Contact a technician if you notice:
- Difficulty turning on the dryer: If the dryer won’t start or shuts off repeatedly, there may be an electrical or electronic issue.
- Unusual noises: Loud noises or excessive vibration may indicate damaged drum glides or bearings.
- Clothes taking longer to dry: If drying time increases significantly, felt seals or heating elements may be damaged.
- Excessive heat: If the dryer’s exterior becomes very hot, there may be an overheating issue, which poses a fire risk.
- Error codes: Modern dryers often display error codes like E1, E2, or E3, which indicate specific problems.
Dryer repair cost comparison table
| Type of Repair | Cost Range (USD) | Time Required | Can You Do It Yourself? |
|---|---|---|---|
| Drum glide replacement | $10 – $40 | 30 minutes – 1 hour | Yes (easy) |
| Felt seal replacement | $15 – $50 | 1 hour – 2 hours | Yes (moderate) |
| Heating element replacement | $50 – $150 | 1 hour – 2 hours | Yes (difficult) |
| Motor replacement | $100 – $300 | 2 hours – 4 hours | No |
| Full dryer replacement | $500 – $1,500 | Varies | No |
Factors to consider before dryer repair
Before deciding on repairs, consider these important factors:
- Age of the dryer: If your dryer is over 10 years old, buying a new one may be more cost-effective. Frequent repairs on an old dryer can add up to nearly the price of a new model.
- Repair cost vs. new dryer price: If repair costs exceed 50% of a new dryer’s price, purchasing a new one is often better.
- Energy efficiency: Older dryers consume more electricity. Buying a new Energy Star certified dryer can save money on utility bills in the long run.
- Availability of local service centers: If quality technicians are unavailable in your area, buying a new dryer may be more practical. Remote repairs can be more expensive.
Conclusion
Replacing drum glides and felt seals in a dryer is a common repair task. However, when these parts wear out, dryer performance declines and energy consumption rises. If you can perform the replacement yourself, you can save significantly on costs. If the issue is complex or you’re unsure, seek help from a professional technician.
Regular maintenance and proper care extend your dryer’s lifespan. If your dryer frequently malfunctions or repair costs become excessive, consider purchasing a new one. Energy Star certified dryers not only save energy but also last longer.
Finally, purchase spare parts from trusted brands like ApplianceSky and regularly inspect components. This ensures your dryer operates reliably for years to come.

About the Author
Hi I am an Engineer I have passed my diploma in Engineering in 2007. Academically I have studied about home appliances and various motors and machineries. In 2012 I have started my blogging and learned a lot of things about home appliances especially washing appliances, washing and cleaning related products, and eequipments. In 2019 I have started my blog https://appliancesky.com to provide my research and experience with my fan and followers.