How to Wire a 240V 40-Amp Circuit for a Smooth-Top Electric Cooktop: A Complete DIY Guide
Why a Dedicated 240V 40-Amp Circuit is Necessary for Your Smooth-Top Cooktop
Before turning on your new smooth-top electric cooktop, you must have a 240V 40-amp dedicated circuit. This is important for both safety and performance. Most smooth-top cooktops have a power requirement between 7.5 and 12 kW, which requires a significant amount of electricity.
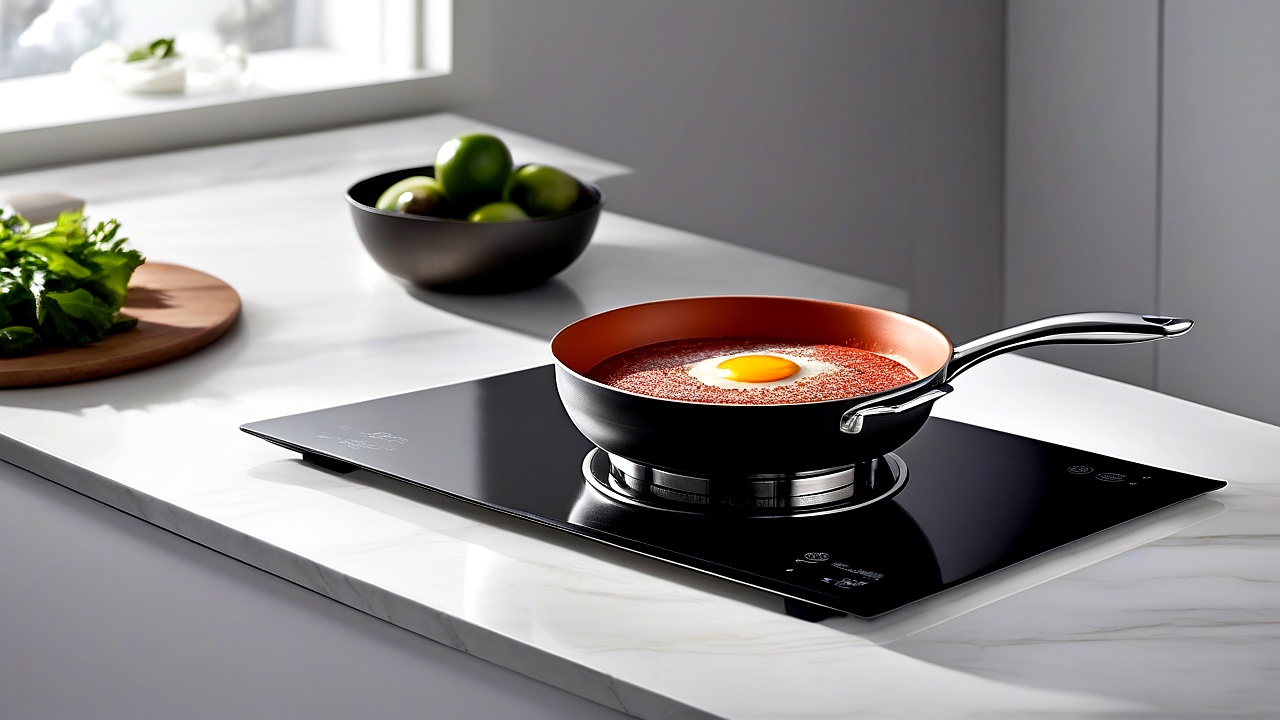
If your home’s wiring system is old or lacks sufficient capacity, the circuit breaker may trip repeatedly, and there is even a risk of a fire hazard. Therefore, it is important to follow the local electrical code (such as the NEC in the US) before proceeding.
Tools & Materials: What You’ll Need Before You Start
Before starting this project, make sure you have all the following tools and materials:
Essential Tools
- Wire stripper & cutter – for cleaning wire insulation.
- Voltage tester – to check if there is electricity in the circuit.
- Screwdriver set – to open the panel cover.
- Tape measure – for measuring wire length.
- Fish tape – to pull the wire through the wall.
- Crimping tool – for securing cable connectors.
- Multimeter – for testing voltage, resistance, and continuity.
Required Materials
- 6/3 AWG copper Romex cable (or THHN wires in conduit) – standard wire gauge for 240V circuits.
- 40-amp double-pole circuit breaker – must be compatible with the panel.
- NEMA 14-50R outlet (or direct-wire connection kit) – must match the cooktop.
- Wire nuts & connector strips – to secure the wires.
- Conduit & fittings (if using conduit instead of Romex) – as required by NEC rules.
- Strain relief bushings – to prevent wire damage.
Step-by-Step Wiring Guide: From Panel to Cooktop
Step 1: Safety First – Power Off & Verify
Before starting work, turn off the power completely from the main electrical panel. Then, use a voltage tester to ensure there is no current flowing through the circuit. For safety, wear rubber-soled shoes and insulated gloves.
Step 2: Choose Your Wiring Method – Romex vs. Conduit
You can choose between two methods:
- Romex (NM cable) – commonly used for residential wiring, though NEC may require conduit in some cases.
- Conduit (THHN wires) – provides better protection and is often used in commercial settings.
Determine which method to use based on your local code.
Step 3: Run the Cable from Panel to Cooktop Location
Pull the wire from your panel to the cooktop location. If the wire must be pulled through the wall, use fish tape. Allow an extra 2-3 feet when measuring cable length to ensure ease of connection later.
If using conduit, use proper fittings for each joint and keep wires secure.
Step 4: Install the 40-Amp Circuit Breaker
Open your electrical panel and install a 40-amp double-pole breaker. The breaker rating must match the cooktop’s power requirement. Connect the wires to the panel’s bus bar and snap the breaker into place.
Step 5: Set Up the Outlet or Direct-Wire Connection
There are two options depending on your cooktop model:
- NEMA 14-50R outlet – used for most plug-in cooktops.
- Direct-wire connection – required for some high-end models, where wires connect directly to the cooktop.
Use a waterproof outlet for outdoor installation.
Step 6: Connect the Wires Properly
Follow the steps below when connecting the cables:
- Panel side:
- Black (hot) wire → upper terminal of breaker
- Red (hot) wire → lower terminal of breaker
- White (neutral) wire → neutral bus bar
- Green/bare (ground) wire → ground bus bar
- Outlet/direct-wire side:
- Black → brass screw
- Red → brass screw
- White → silver screw
- Green/bare → green screw
Important: After securing all connections, ensure the wires are not loose. Secure the cables with strain relief bushings to prevent damage to the cable insulation.
Step 7: Test the Circuit Before Finalizing
After connecting everything, turn the panel power back on and check the voltage using a multimeter. There should be 240V between the two hot wires and 120V to ground. If the voltage is incorrect, recheck the connections.
If everything is correct, plug in the cooktop or connect the wires and run a power-on test. If the cooktop operates properly, your wiring is complete.
Common Mistakes to Avoid During Wiring
Many people make mistakes during this process that can cause the circuit breaker to trip or even create a fire hazard. Avoid the following errors:
1. Incorrect Wire Gauge Selection
If you use 8 AWG wire instead of 6 AWG, the wire may overheat and increase the fire risk. Always follow the manufacturer’s recommendations.
2. Loose Connections
If wires are not properly secured, resistance increases and heat is generated. Tighten all screws and perform a pull test on the wires.
3. Mixing Up Hot & Neutral Wires
The neutral wire (usually white) should never be connected to a hot terminal. This can cause reverse polarity and damage the appliance.
4. Not Using a Dedicated Circuit
If you connect another high-power appliance (such as a refrigerator or microwave) to the same circuit, the breaker may trip repeatedly. Always use a dedicated circuit.
5. Ignoring Local Electrical Codes
According to NEC regulations, kitchens may require a separate GFCI circuit. Work in accordance with local codes to avoid inspection issues.
When to Call a Professional Electrician
If you are uncomfortable doing the wiring yourself or your panel is old, seek help from a licensed electrician. Professional assistance is especially recommended in these situations:
- Your home’s wiring system is old and uses aluminum wire.
- Panel capacity is low and there is no space to add a new circuit.
- You are unsure about the grounding system.
- You are unclear about local code requirements.
A professional electrician typically costs between $100–$300 USD, but it is important for the safety of your home.
FAQ: Your Top Questions About 240V Cooktop Wiring
1. Can I use a 50-amp breaker for a 40-amp cooktop?
No, according to NEC rules, the breaker rating should not exceed the full-load current of the appliance. If your cooktop requires less than 40 amps, use a 40-amp breaker.
2. Do I need a GFCI breaker for a cooktop?
According to the NEC, kitchens may require a GFCI circuit, especially if there is water near the outlet. Check your local code.
3. What happens if I use a smaller wire gauge?
Smaller wire (e.g., 8 AWG) creates more resistance, which can cause it to overheat and increase fire risk. Always follow the manufacturer’s recommendations.
4. Can I extend the existing wiring instead of running a new circuit?
If your panel has capacity and the wiring is not old, you can extend the existing wiring. However, running a new circuit is generally safer according to NEC rules.
5. How do I know if my cooktop needs a NEMA 14-50 outlet or direct-wire connection?
Check the cooktop user manual. Most plug-in models are designed for a NEMA 14-50 outlet, but some high-end models require a direct-wire connection.
Final Thoughts: Safety & Efficiency Go Hand in Hand
Wiring a 240V 40-amp circuit for a smooth-top electric cooktop is a challenging but manageable DIY project. If you follow the steps above and adhere to safety protocols, you should be able to complete this yourself. However, remember that a small mistake in electrical work can have serious consequences, such as a short circuit, fire hazard, or damage to your home’s electrical system. If you are unsure or hesitant about any step, consult a licensed electrician.
A few important things to keep in mind while doing this project:
- Permit & inspection: Many local authorities require a permit for electrical work. Get approval from an inspector after completing the work to avoid future legal issues.
- Quality of materials: Purchase UL-certified materials instead of using cheap cables or outlets. This ensures long-term safety and performance.
- Future-proofing: If you plan to add more high-power appliances (such as an induction cooktop or double oven) in the future, use a thicker wire gauge (such as 4 AWG). This avoids the need to rewire when adding a new circuit.
Another important consideration is GFCI protection. While a GFCI breaker is not mandatory for many smooth-top cooktops, it is essential in wet areas such as kitchens. A GFCI breaker significantly reduces the risk of electric shock.
Post-Wiring Checklist: What to Do After Installation
Once the wiring of your cooktop is complete, perform these critical checks:
- Visual inspection: Check if all connections are tight. Fix any loose wires immediately.
- Multimeter test: Verify that the outlet voltage is 240V. If it is less than 200V or more than 250V, there may be a wiring issue.
- Load test: Turn on the cooktop and check for unusual noise, burning smells, or overheating. If any abnormalities occur, power off immediately and resolve the problem.
- Appliance manual check: Review the wiring diagram and specifications in the cooktop user manual. Correct any mismatches.
Common Post-Installation Issues & Quick Fixes
Some common problems can occur, which are easy to solve:
| Issue | Possible Cause | Solution |
|---|---|---|
| Cooktop is not responding when turned on | Loose connection, blown fuse, or incorrect breaker | Recheck all connections, reset the breaker, or replace the fuse |
| Breaker trips repeatedly while cooktop is on | Overload, short circuit, or GFCI protection activation | Recheck wiring, inspect for damaged wires, reset GFCI breaker |
| Cooktop heating element not working | Faulty heating element, loose wire connection, or thermostat issue | Test heating element, tighten connections, or check thermostat |
| Unusual noise or vibration while cooktop is on | Loose mounting, damaged cooktop, or incorrect installation | Tighten the cooktop’s mounting screws or seek professional help |
Conclusion
Wiring a 240V 40-amp circuit for a smooth-top electric cooktop is an important task that ensures the functionality and safety of your kitchen. By following the steps above, you can complete this project yourself, but remember that safety is the top priority in electrical work. If you are unsure about any step or uncomfortable doing it yourself, seek help from a professional electrician.
Through this project, you are not only ensuring the necessary power supply for your cooktop but can also prevent future electrical issues. Always use quality materials, follow local electrical codes, and perform regular maintenance.
Start your project now, take the necessary safety measures, and enjoy meals with your new cooktop! 🍳✨ If this guide works for you, share it with others so they too can safely and efficiently wire their kitchen. Thanks!

About the Author
Hi I am an Engineer I have passed my diploma in Engineering in 2007. Academically I have studied about home appliances and various motors and machineries. In 2012 I have started my blogging and learned a lot of things about home appliances especially washing appliances, washing and cleaning related products, and eequipments. In 2019 I have started my blog https://appliancesky.com to provide my research and experience with my fan and followers.