The Complete Guide to Preventing Mold, Mildew & Bacteria Growth in Ice Makers
Introduction: The Silent Peril of the Ice Maker
Is the ice maker attached to your fridge ever giving off a smell that isn’t fresh? Or are the ice cubes looking a little yellow or discolored? These symptoms are not only uncomfortable but can also be harmful to health. Because the environment inside the ice maker can become an ideal breeding ground for mold, mildew, and bacteria.
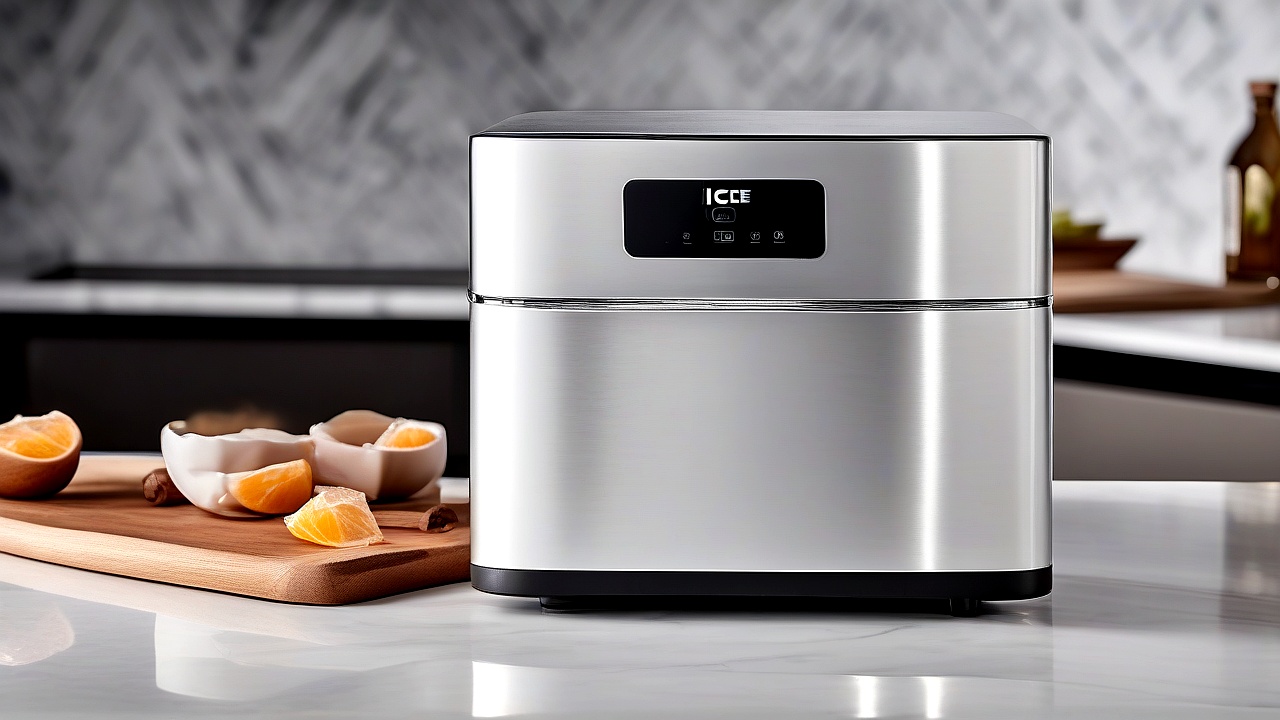
In this article we will discuss why these harmful bacteria grow in ice makers, how to prevent them, and how regular maintenance can keep your ice maker healthy and long lasting.
Why Does Ice Maker Grow Mold, Mildew & Bacteria?
The environment inside the ice maker is ideal for microbial growth. Some of the main reasons are:
- Moisture: The job of an ice maker is to freeze water and make ice. As a result, there is always some moisture inside. And this moisture is an ideal breeding ground for germs.
- Temperature: The temperature inside the fridge is usually between 0°C and 4°C. This temperature is suitable for the growth of microbes.
- Food Source:
- Minerals in water
- Food particles stuck to the plastic or rubber parts inside the ice maker
- Wind blown dust
- Lack of adequate light and ventilation: The interior of the ice maker is usually dark and enclosed. As a result, an ideal environment is created for the growth of microbes.
Harmful Effects of Mold, Mildew & Bacteria
Microbes growing inside ice makers not only cause odors, but can also pose serious health risks. Especially:
- Foodborne Illness: Eating contaminated ice cubes can lead to bacterial infections like E. coli.
- Allergy and respiratory problems: Inhalation of mold spores can cause problems like asthma and allergic rhinitis.
- Long-term health risks: Certain types of mold (such as black mold) can cause lung infections and even serious diseases such as cancer if ingested over a long period of time.
Step-by-Step Guide to Sterilizing an Ice Maker
Step 1: Turn off and unplug the ice maker
First turn off the ice maker’s power switch and unplug it. This step is important for safety.
Step 2: Empty the ice bucket and discard the ice cube
Remove all the ice cubes from the ice bucket. Dispose of used ice directly in the trash to prevent the spread of germs.
Step 3: Cleaning the Inside of the Ice Maker
Now it’s time to clean the inside of the ice maker. Follow the steps below:
- Manual Check: Check the ice maker manual. Many models have specific cleaning instructions.
- Making a mixture of water and vinegar:
- Mix white vinegar and warm water in a 1:1 ratio in a spray bottle.
- The acidic properties of vinegar will help kill germs.
- Spraying the interior:
- Spray the vinegar mixture thoroughly all over the inside of the ice maker. Spray more especially in places where water accumulates.
- Wait 5-10 minutes for the vinegar to work properly.
- Rubbing with a brush or sponge:
- Use a soft brush or sponge to scrub the vinegared areas thoroughly. Pay particular attention to the ice maker’s blades, trays, and water tubes.
- Do not use vinegar on any metal parts, as vinegar can corrode the metal.
- Wash with water:
- Rinse all parts thoroughly with clean water. It may take a while for the vinegar smell to go away.
- If the smell remains, rinse again with clean water.
Step 4: Cleaning the exterior
It is also important to sterilize the exterior of the ice maker. Follow the steps below:
- Take a microfiber cloth and soak it in vinegar or mild soapy water.
- Wipe the exterior of the ice maker thoroughly. Pay particular attention to handles, buttons, and areas of the refrigerator where the ice maker is attached.
- Wash the cloth with clean water and wipe again.
Step 5: Restarting the Ice Maker
When all cleaning steps are completed, plug in the ice maker and turn on the power. It may take some time to make ice the first time. Discard the ice cubes from the first few cycles, as they may still have a slight vinegar smell.
Ice Maker Routine Care Tips
Once cleaned, regular maintenance can keep the ice maker healthy for a long time. Below are some important tips:
1. Weekly Cleaning
- Emptying the Ice Bucket: Empty the ice bucket at least once a week. Dispose of used ice directly in the trash.
- Vinegar Spray: Clean the inside of the ice maker once a week by spraying it with vinegar. It will destroy germs before they grow.
2. Monthly Deep Cleaning
- Disassembling the entire ice maker: If possible, remove the back of the ice maker and clean the interior thoroughly.
- Changing the water filter: If your ice maker has a water filter, change the filter at least once a month. The filter helps retain germs.
- Blade and Tray Cleaning: Clean the ice maker blade and tray thoroughly. If food particles accumulate in them, the possibility of bacterial growth increases.
3. Professional cleaning once a year
If possible, have the ice maker cleaned by a professional technician once a year. It is especially good to clean the inside of the fridge.
Natural Ways to Sterilize Ice Makers
Besides vinegar, there are other natural ways to help clean an ice maker:
1. Baking soda
Baking soda’s alkaline properties help kill germs. How to use:
- Mix 2 tablespoons of baking soda and 1 cup of warm water in a spray bottle.
- Spray the mixture on the inside of the ice maker.
- Wait 5-10 minutes.
- Clean by scrubbing with a soft brush.
- Rinse with clean water.
2. Lemon juice
The natural acidity of lemon juice helps kill germs and at the same time gives a fresh smell. How to use:
- Mix ½ cup lemon juice and 1 cup warm water in a spray bottle.
- Spray the mixture on the inside of the ice maker.
- Wait 5-10 minutes.
- Clean by scrubbing with a soft brush.
- Rinse with clean water.
3. Hydrogen Peroxide
Hydrogen peroxide acts as a powerful disinfectant. How to use:
- Spray a 3% hydrogen peroxide solution directly on the inside of the ice maker.
- Wait 5-10 minutes.
- Clean by scrubbing with a soft brush.
- Rinse with clean water.
What to avoid for sterilizing an ice maker?
Some things should be avoided when cleaning an ice maker, as they can damage or cause bacterial growth. There are some incorrect steps that can reduce the performance of your ice maker and also create health hazards. Let’s find out which things to avoid and why.
- Bleach: Bleach is a powerful disinfectant but can corrode the interior of the ice maker. Also, the smell of bleach does not go away easily and it spoils the taste of the ice cubes. Especially stainless steel or plastic parts are more likely to be damaged.
- Abrasive Scrubbers: Using steel wool, brushes or very strong cleaners can scratch the inside of the ice maker. These scratches can later become ideal sites for germs to accumulate. Instead, use a soft cloth or sponge.
- Boiling Water: Many people use hot water to clean ice makers, but this can be harmful. Hot water can warp the plastic parts and damage the seal. Always use lukewarm or normal temperature water.
- Excessive Soap/Detergent: Using too much soap or detergent can leave the inside of the ice maker and spoil the taste of the ice cubes. After cleaning, rinse well and ensure that excess foam does not remain.
- Cleaning While Water is Trapped: If water is trapped inside the ice maker, it may spread to other parts during cleaning. Besides, if there is accumulation of water, the possibility of growth of bacteria increases. Before cleaning, be sure to empty the ice bucket and completely remove the water inside.
What type of cleaner should not be used when cleaning an ice maker?
There are some cleaners that should never be used to clean an ice maker. These can damage the ice maker as well as create a health hazard. Below is a list of some cleaners that should be avoided:
| Cleaner Name | Harmful Effects | Options |
|---|---|---|
| Bleach | Corrodes plastic and stainless steel, odor remains | Baking soda, vinegar |
| Ammonia | Emits toxic gases, irritates eyes and airways | Lemon juice, hydrogen peroxide |
| Strong Acids | Corrodes plastic and metal parts | mild vinegar solution |
| Alcohol-based Cleaners | damages plastic parts | pure water and baking soda |
What are common mistakes when cleaning an ice maker?
Many people make some simple mistakes while cleaning their ice makers, which lead to big problems later on. Below is a list of some mistakes that should always be avoided:
- Not turning off the ice maker before cleaning: There is a risk of electric shock if the ice maker is cleaned while it is on. Always unplug and turn off the ice maker completely.
- Not cleaning the insides: Many people only clean the outsides, but the insides harbor germs. Regular cleaning of the interior is very important.
- Not washing thoroughly after cleaning: Wash thoroughly after using cleaner or soap. Residues can spoil the taste of ice cubes.
- Not cleaning at regular intervals: Germs grow if the ice maker is not cleaned regularly. Weekly cleaning should be done along with monthly deep maintenance.
- Not Seeking Professional Help: If ice maker problems are serious, seek professional help instead of trying to fix it yourself.
Choosing the Right Equipment in Ice Maker Sterilization
Choosing the right equipment for cleaning the ice maker is very important. Using the wrong equipment can damage the ice maker and may not completely disinfect. Let’s find out which tools to use and which to avoid.
List of valid tools
- Soft Cloth/Microfiber Cloth: Best suited for cleaning the inside and outside of the ice maker. It does not scratch and can easily remove germs.
- Soft Brush: Ideal for cleaning small areas. Using a hard brush can cause scratches.
- Spray Bottle: Suitable for spraying cleaning solution. This helps to apply the solution in a controlled manner.
- Measuring Cup: Helps to measure the correct amount for preparing the cleaning solution.
- Rubber Gloves: Protects the skin of hands from getting damaged during cleaning.
Tools to avoid
- Steel Wool: It causes scratches on the plastic and metal parts of the ice maker.
- Rigid Brushes: Using rigid brushes while cleaning small areas can cause damage.
- Acidic/Alkaline Cleaners: These can corrode ice maker parts.
- Additional chemicals (Harsh Chemicals): These can create health hazards and spoil the taste of ice cubes.
The Role of Technology in Ice Maker Disinfection
Modern technology has made the disinfection process for ice makers simpler and more effective by introducing different kinds of apps, sensors, and automatic cleaning systems now available in the market. Let’s look at how technology can help in the care of ice makers.
Advantages of Smart Ice Maker
Many ice maker models are now equipped with smart features, which make the sterilization process even easier. Below are some notable benefits:
- Automatic Cleaning System: Some ice maker models have an automatic cleaning system, which cleans itself at certain intervals.
- App Control: Ice maker can be controlled through smartphone. There are facilities to schedule cleaning and get reminders.
- Bacteria Sensor: Some advanced models have a bacteria sensor, which measures the bacteria level of the ice maker and suggests cleaning as needed.
- Automatic Defrost: The built-in ice maker has an automatic defrost system, which reduces the chance of germs growing.
Tips for choosing a smart ice maker
If you are looking to buy a smart ice maker, consider the following:
- Ease of Cleaning: Choose models that are easy to clean. Better to have an automatic cleaning system.
- Sensor & App Support: Sterilization process is more efficient with germ sensor and app control.
- Energy saving: Choose energy-efficient models to reduce power consumption.
- Capacity: Select the capacity based on the number of members in your family.
- Brand & Warranty: Buy from trusted brands and ensure warranty benefits.
Common Questions and Answers on Ice Maker Sterilization
Many people face various questions while cleaning the ice maker. Below are some common questions and their answers, which will help you become more aware.
Question 1: How often should the ice maker be cleaned?
Answer: Ice makers should be cleaned regularly. In addition to weekly cleanings, monthly deep care should be done. If the ice maker is used a lot, it is best to clean it every two weeks.
Question 2: What is the best solution for cleaning an ice maker?
Answer: The best solution for cleaning ice makers is a mixture of baking soda and vinegar. It also eliminates germs and does not spoil the taste of the ice cubes.

About the Author
Hi I am an Engineer I have passed my diploma in Engineering in 2007. Academically I have studied about home appliances and various motors and machineries. In 2012 I have started my blogging and learned a lot of things about home appliances especially washing appliances, washing and cleaning related products, and eequipments. In 2019 I have started my blog https://appliancesky.com to provide my research and experience with my fan and followers.