Range Hood Control Circuit Boards: How They Work and How to Detect Board Failure
Introduction: The control circuit board acts as the brain of the range hood
Your kitchen range hood doesn’t just remove smoke and odors—it plays an important role in controlling the environment in your entire kitchen. But this work is possible because of the control circuit board behind it. This board controls various sensors, fan speeds, lighting systems and even sensor-based automation on some higher-end models.
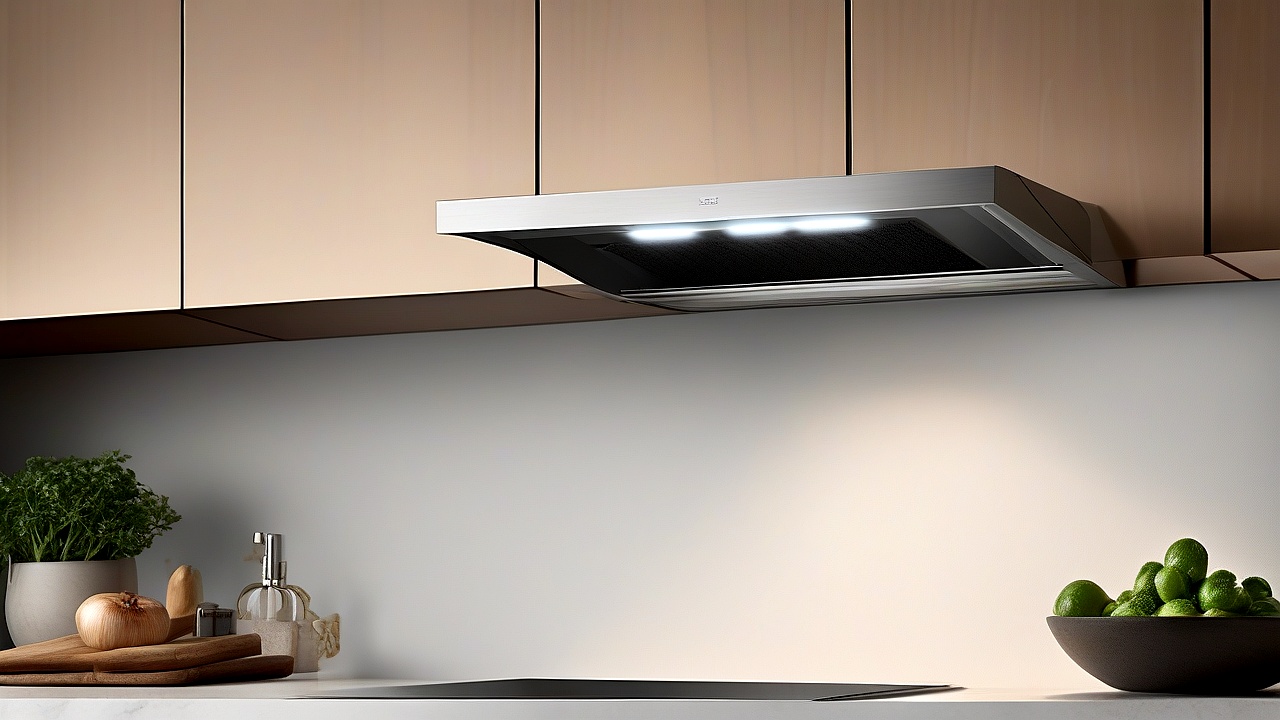
In today’s discussion we will learn how this range hood control circuit board works, what its main components are, and most importantly—how to tell if your range hood board is failing.
Main Components of Range Hood Control Circuit Board
A typical control circuit board consists of several main parts. These are:
1. Power Supply Unit (PSU)
This part converts the required DC voltage (usually 5V, 12V, or 24V) from the AC power to drive other components. Many advanced models use inverter technology which reduces power consumption and extends longevity.
2. Microcontroller
This small chip acts as the brain of the entire system. It receives information from sensors, programmatically controls fan speed, turns lights on/off and responds to user input.
3. Sensor input circuit
Modern range hoods have different types of sensors such as:
- Heat sensor – Detects smoke and temperature to automatically turn on the fan.
- Humidity sensor – measures the humidity of the air and activates the system if there is excess smoke or steam.
- Light sensor – Controls the brightness of the lights according to the amount of light in the environment.
4. Relay and Transistor Circuit
These components turn on/off fan motors, lights, and other electrical components as instructed by the microcontroller.
5. User Interface (UI) and Control Panel
There are various buttons, touch screens, or sensor-based control systems through which the user can set fan speed, lighting, and timers.
6. Communication module (on advanced models)
This module is used to connect to smart home systems via technologies such as Wi-Fi, Bluetooth, or Zigbee.
Steps of how the control circuit board works
Step 1: Power On and Initial Setup
When you turn on the range hood, the PSU begins supplying power. The microcontroller completes its initial setup and begins monitoring the sensors.
Step 2: Sensor Data Collection
Information from the sensors such as temperature, humidity, and light levels are sent to the microcontroller. By analyzing this data, the microcontroller decides whether to activate fans, lights, or other components.
Step 3: Command Processing and Action Execution
The microcontroller generates necessary commands according to user input (e.g., setting fan speed) and sensor data. It then controls the fan motor, lights, or other components through the relay circuit.
Step 4: Automatic Control and Adaptive Functions
Higher-end models automatically adjust fan speed and lighting based on sensor data. For example, if smoke levels rise, the fan will automatically start running at high speed.
Step 5: User Interaction and Feedback
When the user makes a change from the control panel (such as changing the fan speed), that input is sent to the microcontroller and the system responds instantly.
Common symptoms of control circuit board failure
If your range hood’s control circuit board is damaged or stops working, there are some clear signs to watch for. Observing these can help you determine whether the issue lies with the board.
1. No Response
When you press any button on the control panel but the range hood shows no response. This could be due to:
- The microcontroller not functioning.
- An issue with the power supply unit.
- Loose or damaged wiring connections.
2. Randomly Turning On/Off
The range hood turns on or off by itself. This typically happens when:
- The microcontroller is not working properly.
- The sensors are sending incorrect data.
- There is an issue with the relay circuit.
3. Fan Speed Control Issues
The fan speed does not change when set or suddenly runs at high speed. Possible causes include:
- A problem with the fan motor connections.
- The microcontroller not sending the correct signals.
- A fault in the transistor circuit.
4. Lighting System Malfunction
The range hood lights do not turn on or flicker randomly. This can occur when:
- The light bulb is damaged.
- There is an issue with the lighting control circuit.
- The power supply unit is not providing adequate power.
5. Displaying Error Codes
Modern range hoods show different error codes on a digital display when a problem occurs. For example:
- E1 – Sensor error
- E2 – Motor problem
- E3 – Power supply issue
Seeing these codes indicates that the control circuit board has detected a problem.
6. Overheating
If the range hood becomes very hot during use, it may be a sign that the control circuit board is overloaded. Possible causes include:
- An issue with the power supply unit.
- The microcontroller working excessively.
- A fault in the ventilation system.
Possible Causes of Control Circuit Board Failure
A control circuit board can fail for several reasons. Here are some common causes:
1. Power Supply Issues
- Voltage fluctuations or power surges.
- Poor-quality power connections.
- Damage to the power supply unit.
2. Environmental Factors
- High temperatures and humidity in the kitchen.
- Accumulation of smoke and grease on the circuit board.
- Exposure to liquids or other substances.
3. Physical Damage
- A part inside the range hood breaking and falling.
- Damaged wiring connections.
- Physical impact to the circuit board.
4. Manufacturing Defects
- Use of low-quality components.
- Poor soldering.
- Lack of proper testing.
5. Wear and Tear Over Time
- Natural degradation of components.
- Stress from heat and electricity.
How to Detect if the Board Has Failed
You can perform some basic tests to determine whether the issue is caused by the control circuit board. Here is a step-by-step guide to help you identify the source of the problem:
Step 3: Testing Sensors and Motors
If the control panel works but the fan or lights do not function, test the sensors and motors. Sometimes sensor issues disrupt the range hood’s automatic controls. To do this:
- Testing the Fan Motor:
- Turn on the range hood and set the fan to maximum speed. If the fan does not spin or makes unusual noises, there may be a motor issue.
- Check if the motor wires are properly connected. Tighten any loose connections.
- Use a multimeter to test the motor coil resistance and ensure it is within normal range.
- Testing the Lighting System:
- Check if the range hood lights turn on. If not, test whether the bulb or LED is damaged.
- Inspect the light wiring connections. Tighten any loose wires.
- Testing the Sensors:
- Clean the range hood sensors to remove dust and debris, which can reduce their effectiveness.
- Check if the sensor wires are damaged. Replace any damaged wires.
- Use a multimeter to measure the sensor voltage. If the sensor does not provide voltage, it is likely damaged.
Step 4: Analyzing Error Codes
Modern range hoods display various error codes that indicate the source of the problem. If your range hood shows an error code, analyze it. Below are some common error codes and their meanings:
| Error Code | Possible Cause | Solution |
|---|---|---|
| E1 | Fan motor problem | Check motor wires, measure coil resistance with a multimeter |
| E2 | Lighting system issue | Replace bulb or LED, check wiring |
| E3 | Sensor problem | Clean sensors, check wiring |
| E4 | Power supply issue | Inspect power cord, replace fuse |
| E5 | Control circuit board problem | Replace the board or seek professional help |
Step 5: Seeking Professional Help
If none of the above steps resolve the issue, it is best to seek professional assistance. Sometimes the control circuit board itself is damaged and must be replaced. To do this:
- Replacing the Board: If you confirm the issue is with the control circuit board, replace it. When purchasing a new board, ensure it matches your range hood model.
- Specialist Service: If you cannot resolve the issue yourself, consult an experienced electrician or range hood servicing specialist. They can quickly and accurately fix the problem.
- Checking Warranty: If your range hood is still under warranty, contact the seller or manufacturer for assistance. They may repair or replace the board at little or no cost.
Cost of Repairing or Replacing a Range Hood Control Circuit Board
The cost of repairing or replacing a control circuit board depends on several factors, including:
- Board Model: Different models have different prices. Basic models typically cost between $30 USD and $50 USD, while high-end models can range from $70 USD to $150 USD.
- Repair vs. Replacement: Repairing the board is usually cheaper than replacing it.
- Service Charges: Electricians or specialists charge separate service fees, typically between $50 USD and $200 USD.
The total cost of replacing a control circuit board usually ranges from $80 USD to $350 USD. To ensure you get the best price, obtain quotes from multiple shops before making a decision.
Frequently Asked Questions (FAQ)
1. How long does a range hood control circuit board last?
A good-quality control circuit board typically lasts between 5 and 10 years. However, its lifespan can vary depending on usage patterns and maintenance.
2. Does replacing the control circuit board come with a warranty?
Yes, most sellers provide a 1-year warranty when you purchase a new control circuit board. Be sure to read the warranty terms carefully.
3. Can I replace the control circuit board myself?
Yes, if you have knowledge of electronics and the necessary tools, you can replace the control circuit board yourself. However, if you are inexperienced, it is best to seek professional help.
4. How will replacing the control circuit board affect the range hood’s performance?
After replacing the control circuit board, the range hood’s performance will improve significantly. Fan speed control, lighting systems, and automatic functions will all operate more effectively.
5. How long does it take to replace a control circuit board?
An experienced electrician or specialist can typically replace a control circuit board in 30 minutes to 2 hours. The time required may vary depending on the issue and preparation.
Conclusion
The range hood’s control circuit board is like its brain—without it, the entire system becomes inoperable. In this article, we discussed how to detect board issues through basic testing, what signs indicate board failure, and how to resolve them.
Remember, every step—from testing the power supply to analyzing error codes and seeking professional help—is important. If you cannot resolve the issue yourself, do not delay in consulting an experienced electrician or range hood servicing specialist.
Another key point is regular maintenance. Keep the range hood sensors clean, regularly test the power supply, and address any issues promptly. This will help your range hood function well for a long time and extend the life of the control circuit board.
Finally, be mindful of costs. Replacing a control circuit board can be expensive, so check the warranty and obtain quotes from multiple shops. If possible, seek help from the brand’s official service center.
We hope this article has been helpful. If you have further questions, feel free to comment or contact the experts at ApplianceSky. Stay safe and happy cooking! 🍳✨

About the Author
Hi I am an Engineer I have passed my diploma in Engineering in 2007. Academically I have studied about home appliances and various motors and machineries. In 2012 I have started my blogging and learned a lot of things about home appliances especially washing appliances, washing and cleaning related products, and eequipments. In 2019 I have started my blog https://appliancesky.com to provide my research and experience with my fan and followers.